
Designing A Living Framework: Backyard Hydrology
A build in pubic approach to designing a responsive system for managing environmental conditions through observation, constraint, and feedback.
When our backyard flooded days after moving into our new home, my partner and I were offered a $25,000 fix: tear everything out and start over. We chose a different approach: let the system teach us what it needed. Observe first and intervene carefully — without destroying the landscape.
What followed was not simply a landscaping project. It was a systems investigation.
The build applies same method used across Living Frameworks: structure is not imposed upfront, but developed through interaction, constraint, and feedback.
How to Read This Build
This page documents the development of a localized environmental system — how repeated flooding led to a deeper understanding of how water moves through the landscape, and how interventions were designed in response.
Rather than applying a predefined solution, the process involved observing the system, identifying constraints, and adjusting interventions based on how the environment responded.
This reflects the same method used to build Living Frameworks in other domains — where structure emerges through interaction, and alignment is achieved through feedback over time.
This work relies on an iterative process of observation and intervention.
Changes were made over time in response to how the system behaved, rather than following a fixed plan.
What matters is not any single intervention, but how understanding of the system evolved — and how that understanding informed more effective responses.
The Problem
The second night my partner and I were in our new home the backyard patio flooded.
It was summer in Florida with consistent and sometimes heavy rains. Our home sits close to the bottom of a hill with surface water flowing toward the back of the house.
This was a system-level problem that would not be resolved with a single fix.
We got an estimate from a landscape company to see just how big an issue we were up against, both feasibility and financial. They quoted us $25k to rip up the entire yard and re-surface it.
We didn’t have that money on hand and we didn’t want to destroy the land.
We have two dogs. It was dreadful thinking about them running around in the mud and tracking it all over the house.
The constraints required a different approach. We needed to avoid false certainty before making any huge decisions that would be challenging to change down the road.
Over the course of three years I employed a variety of strategies, iterated, and revisited steps as needed — including digging up drain lines more than once.
Constraint Before Method
I realized after that quote that the trees in our yard have surface root systems.
For the plan suggested to us to work we would first need to remove all seven 80' trees in our backyard — and every bit of shade we had. That plan was not a good fit.
Clear-cut landscapes without mature trees are not for me. And, tree removal alone would have cost upwards of $20k.
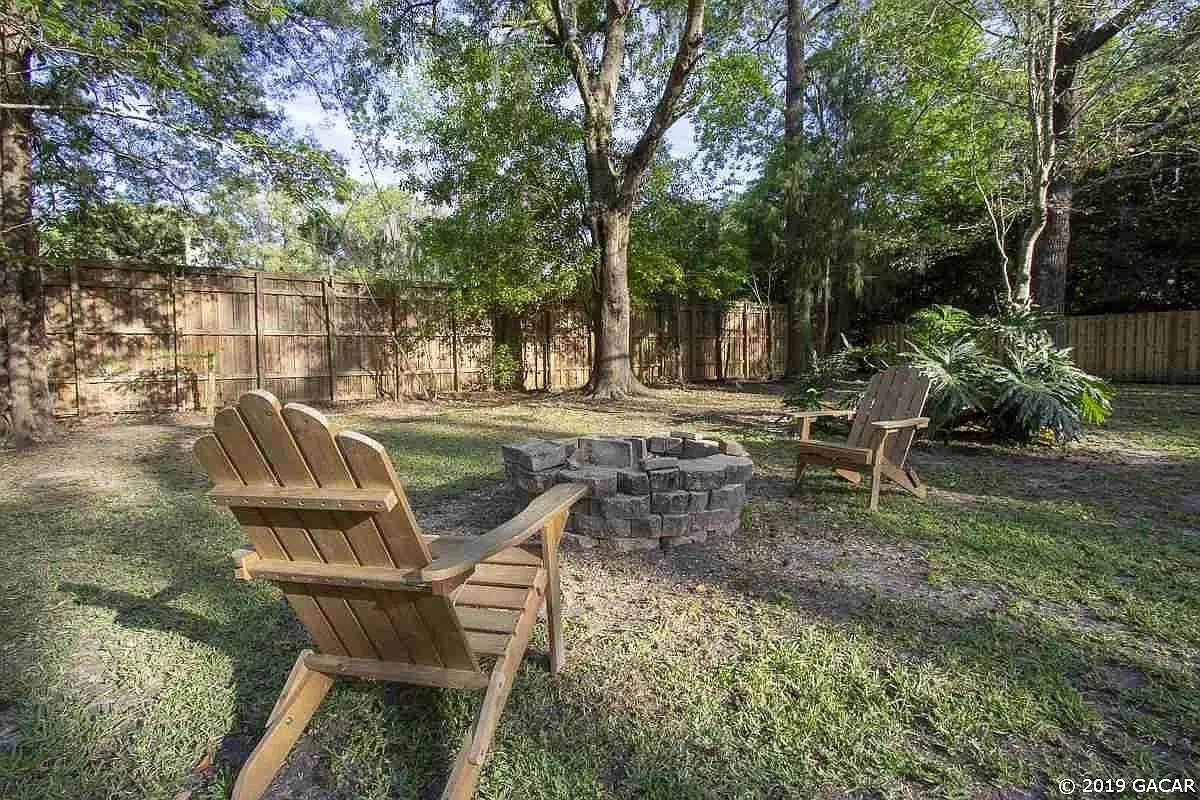
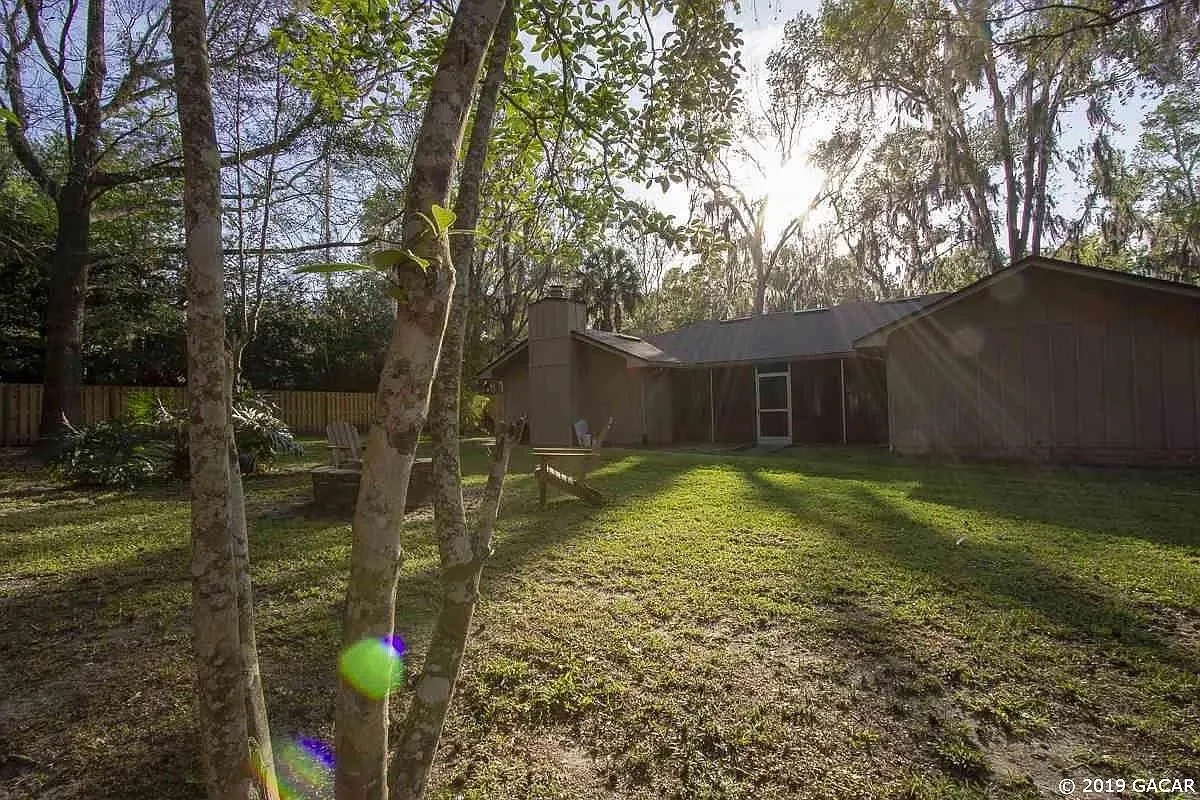
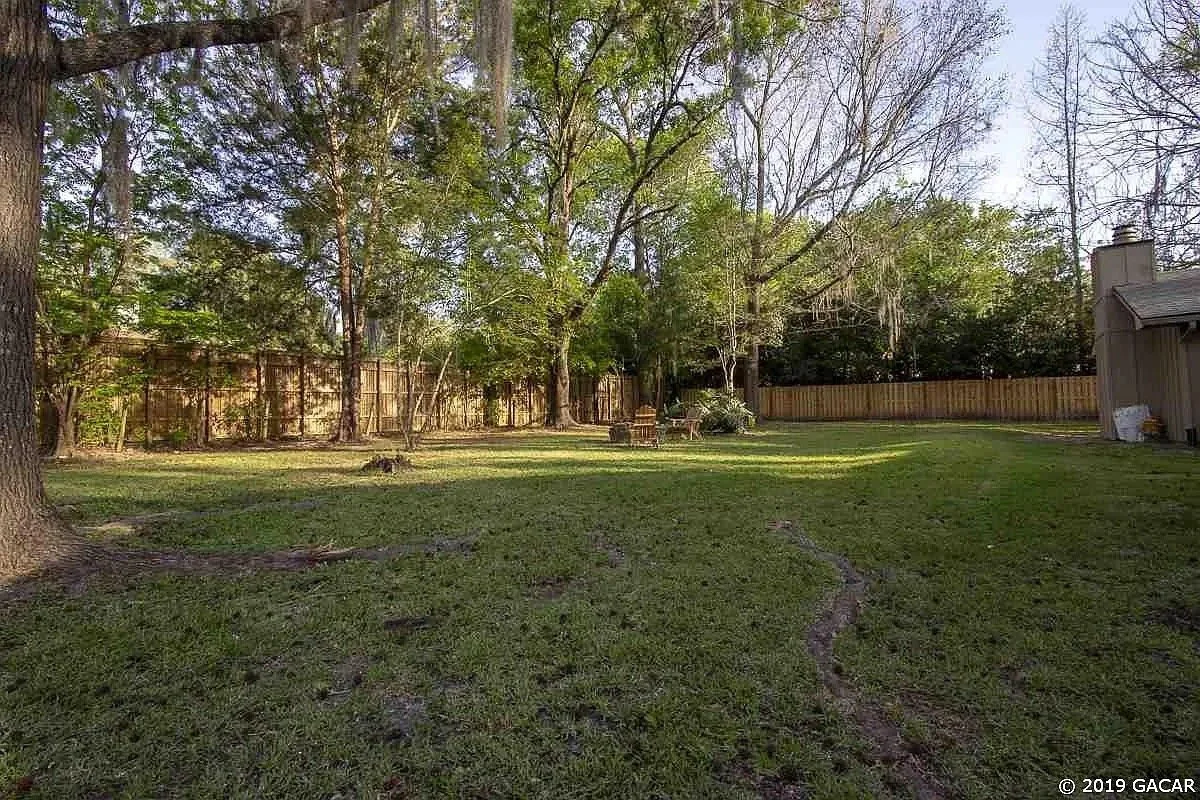
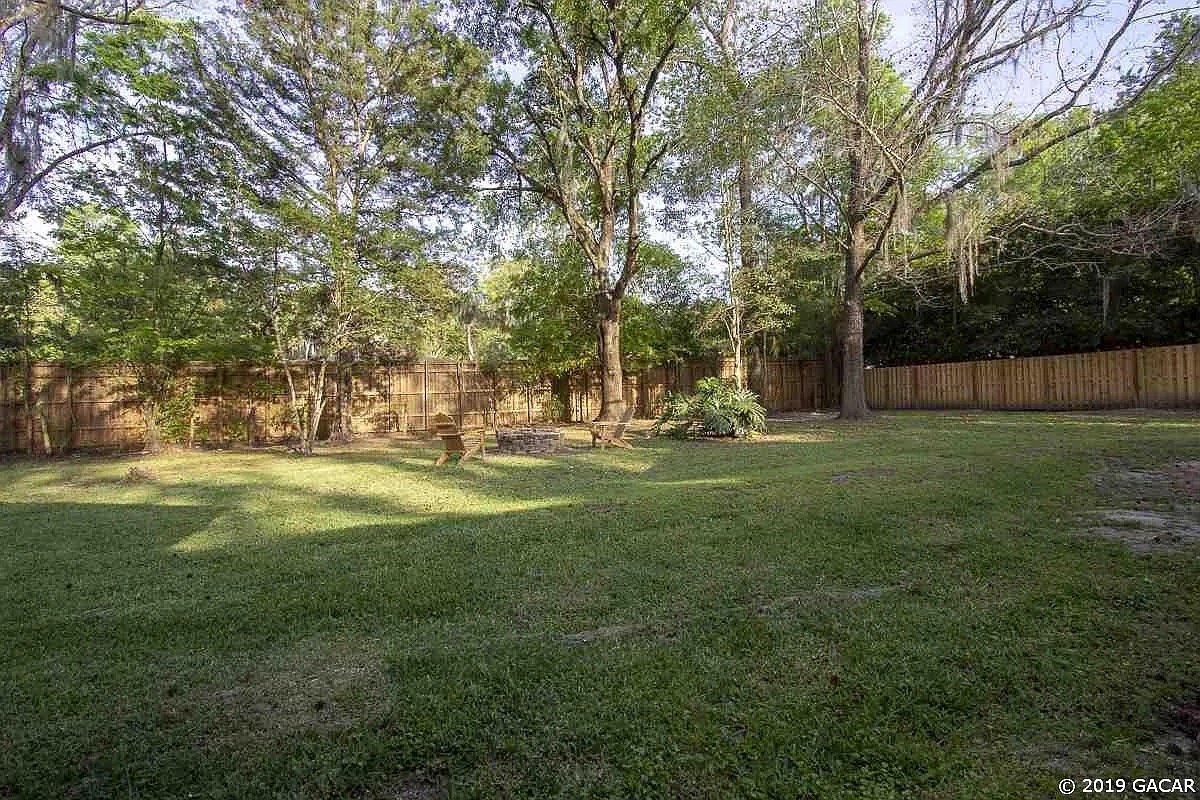
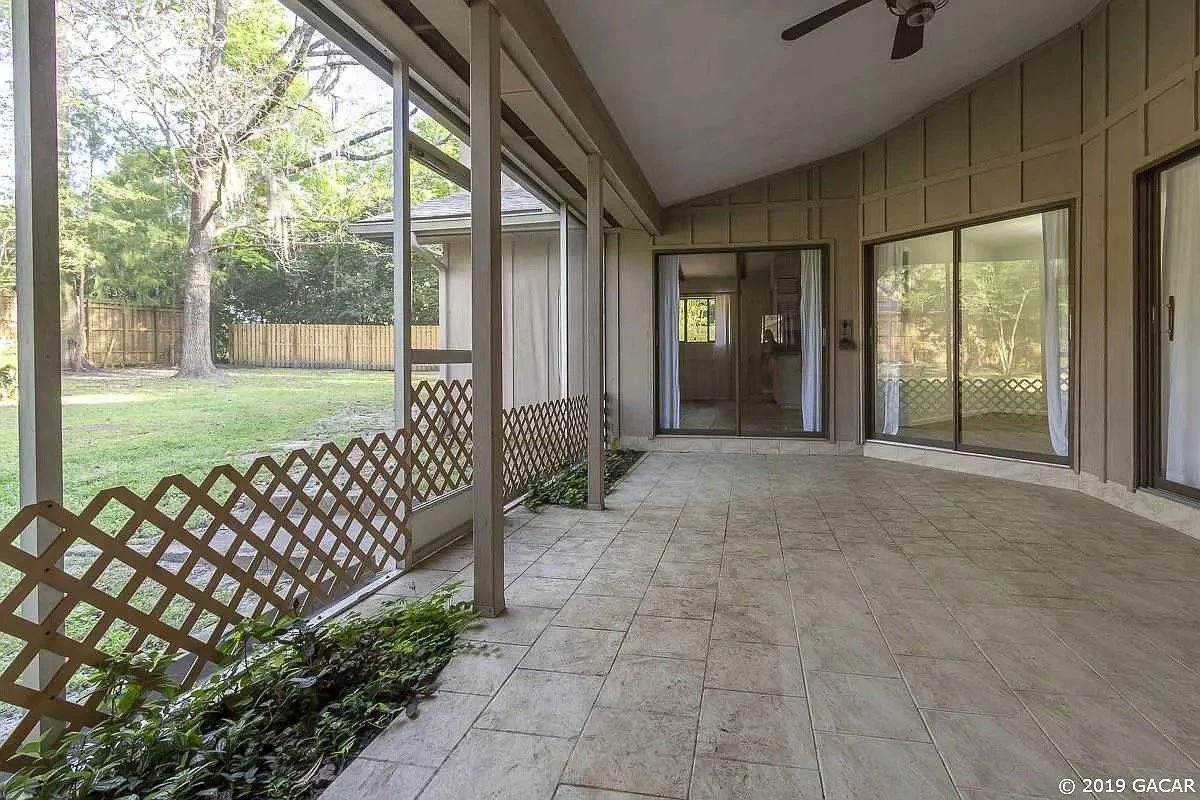

The system required time to observe and diagnose before intervention. I needed to document the existing hydrology before committing to any action.
Disambiguating Signal: Directional vs Causal vs Diagnostic
Over time, observation of the flow of the surface water and where standing water accumulated under varying conditions revealed several structural issues.
The surface water flowed along three paths across the yard. Two ran along each side of the house; one ran diagonally across the yard.
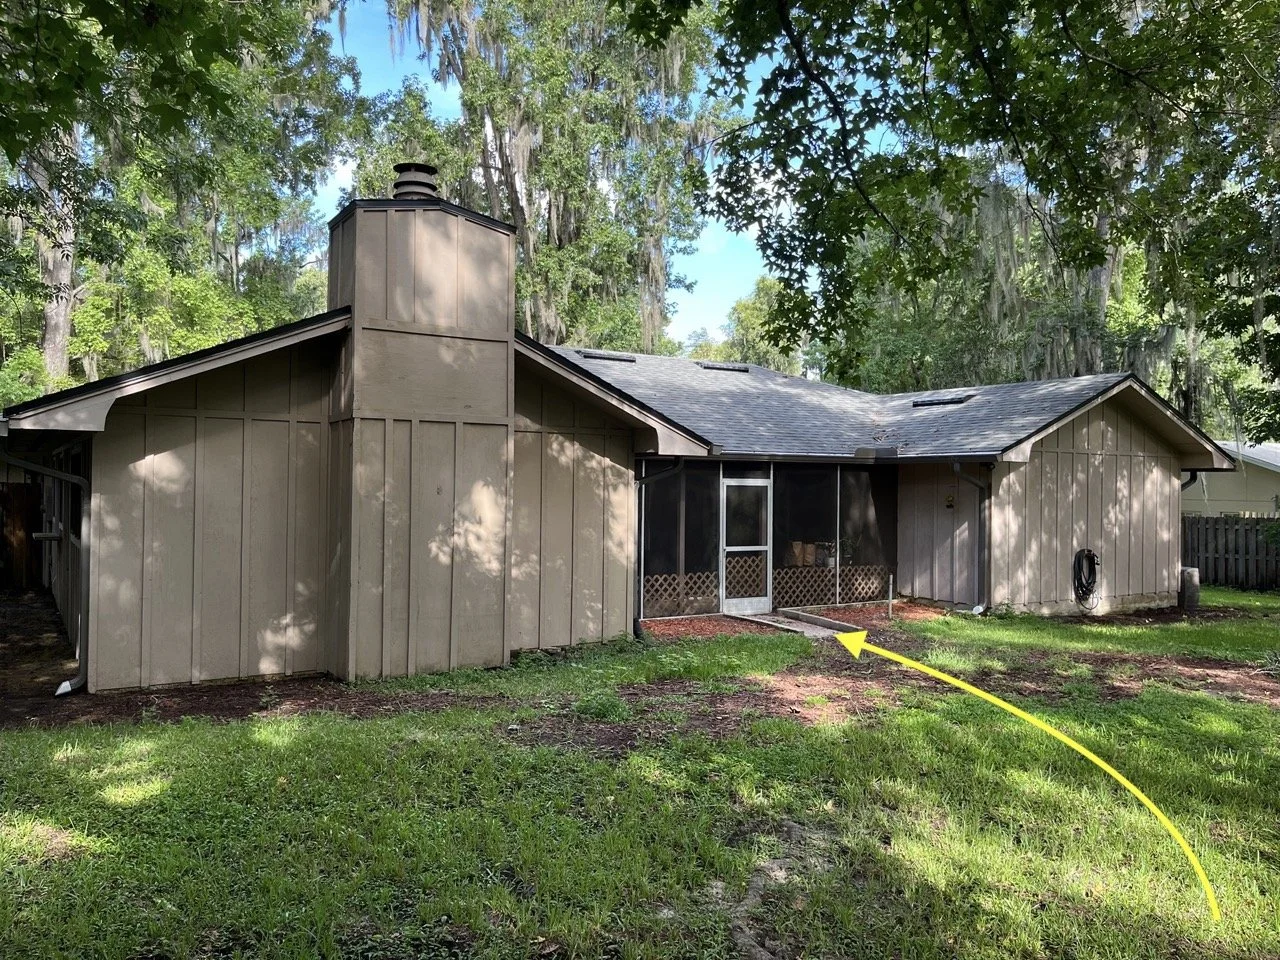
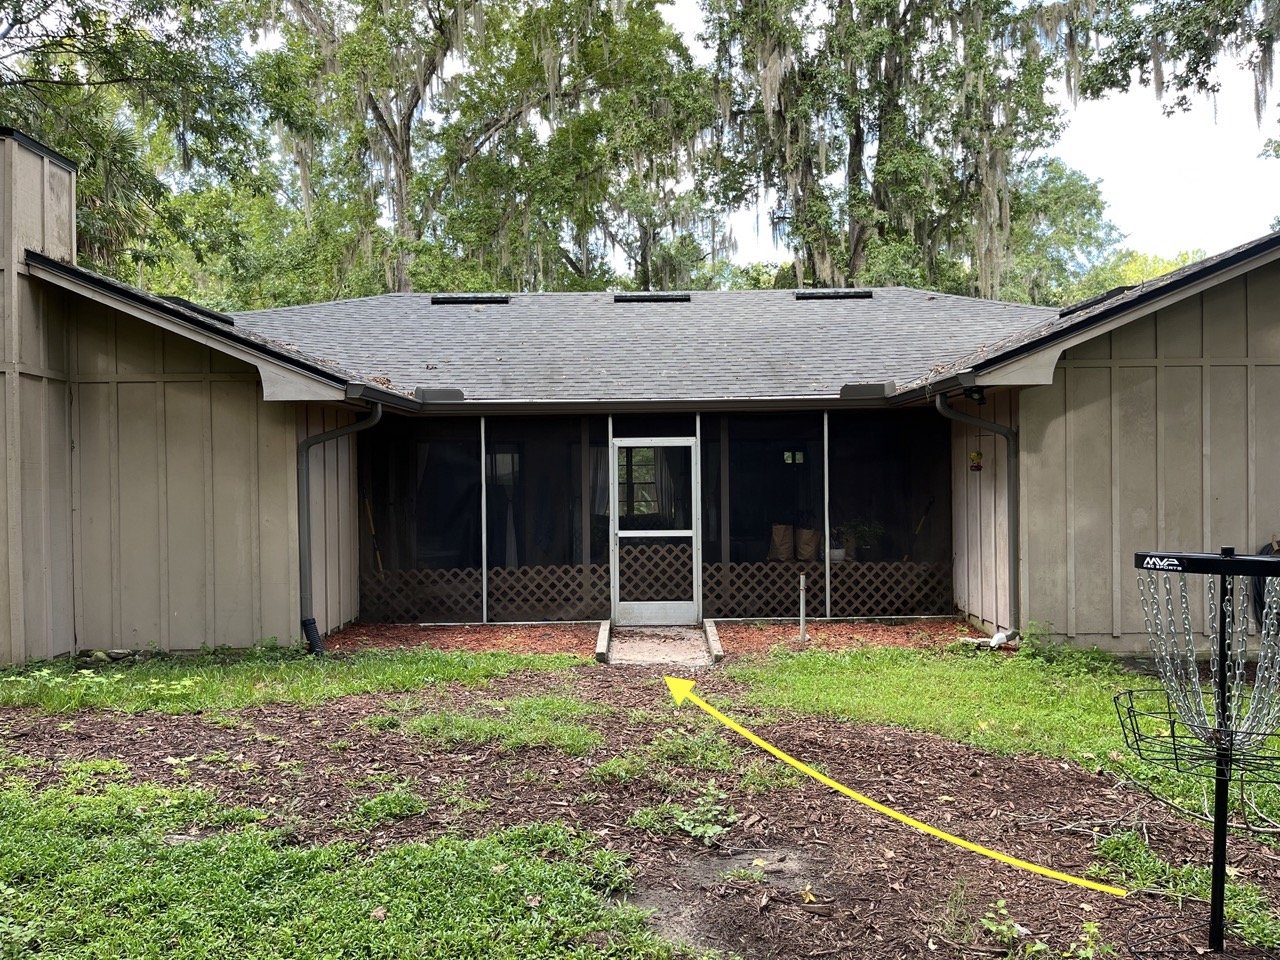
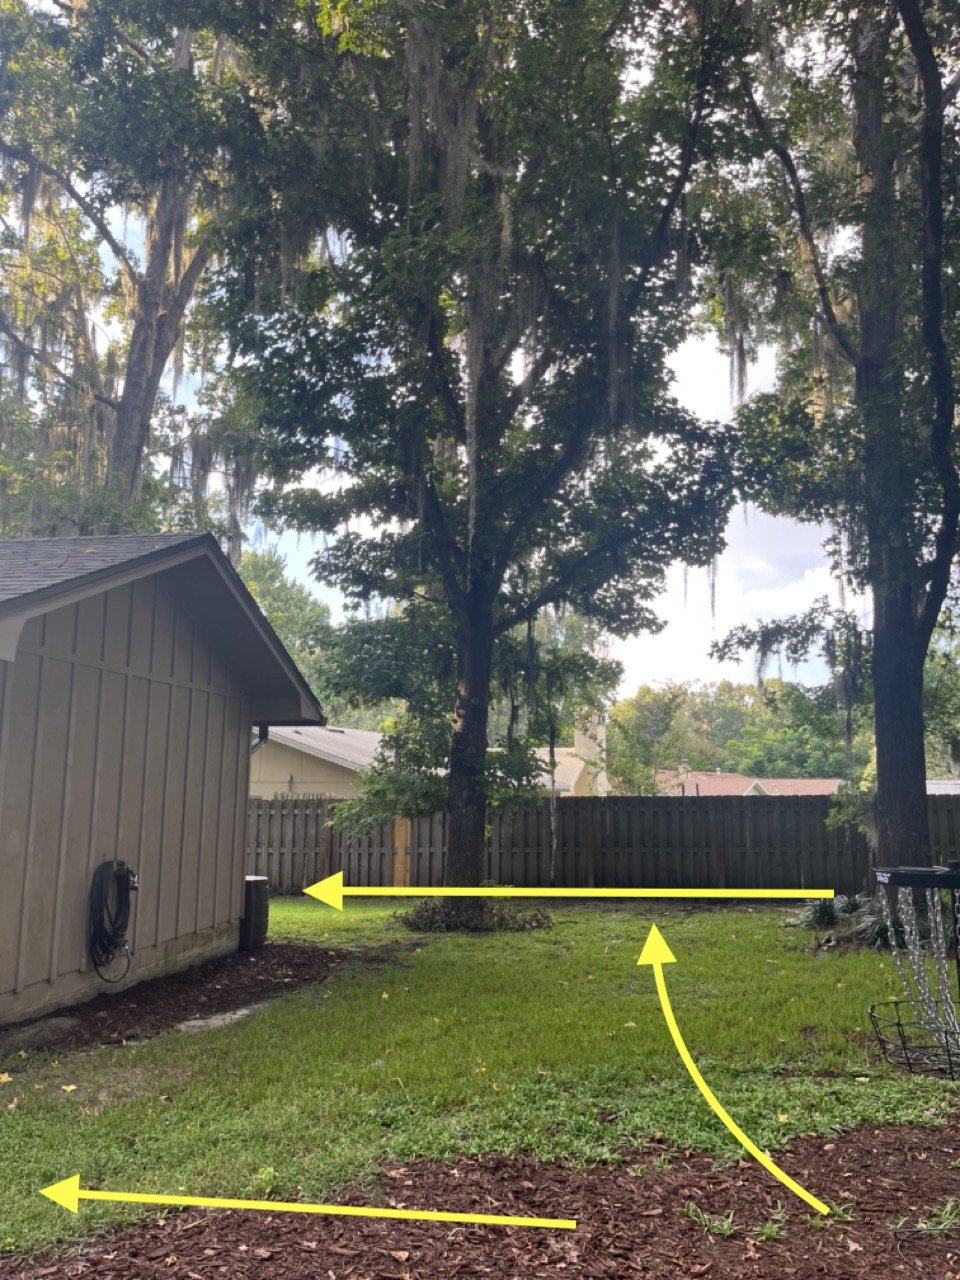
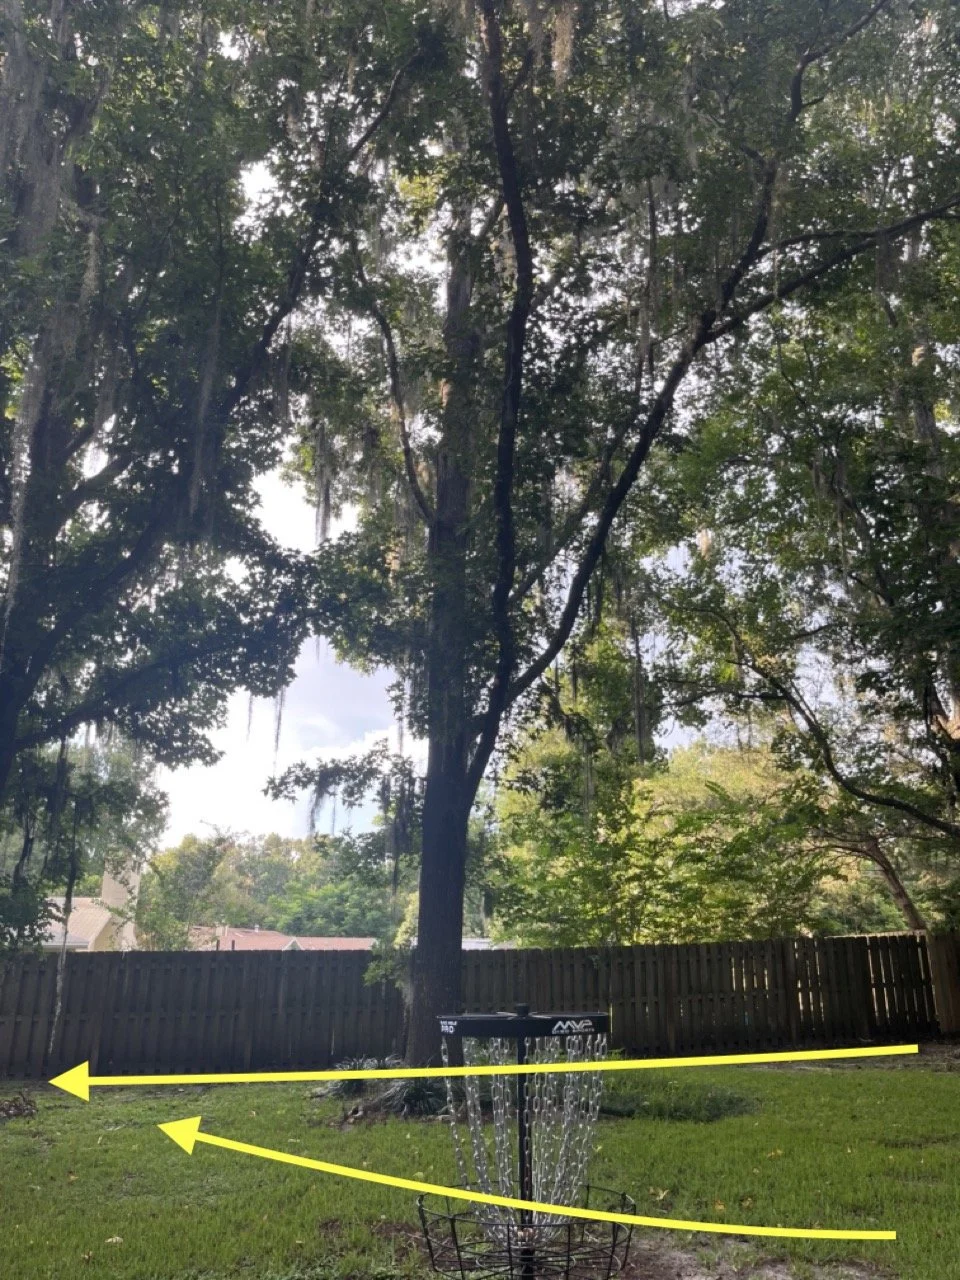
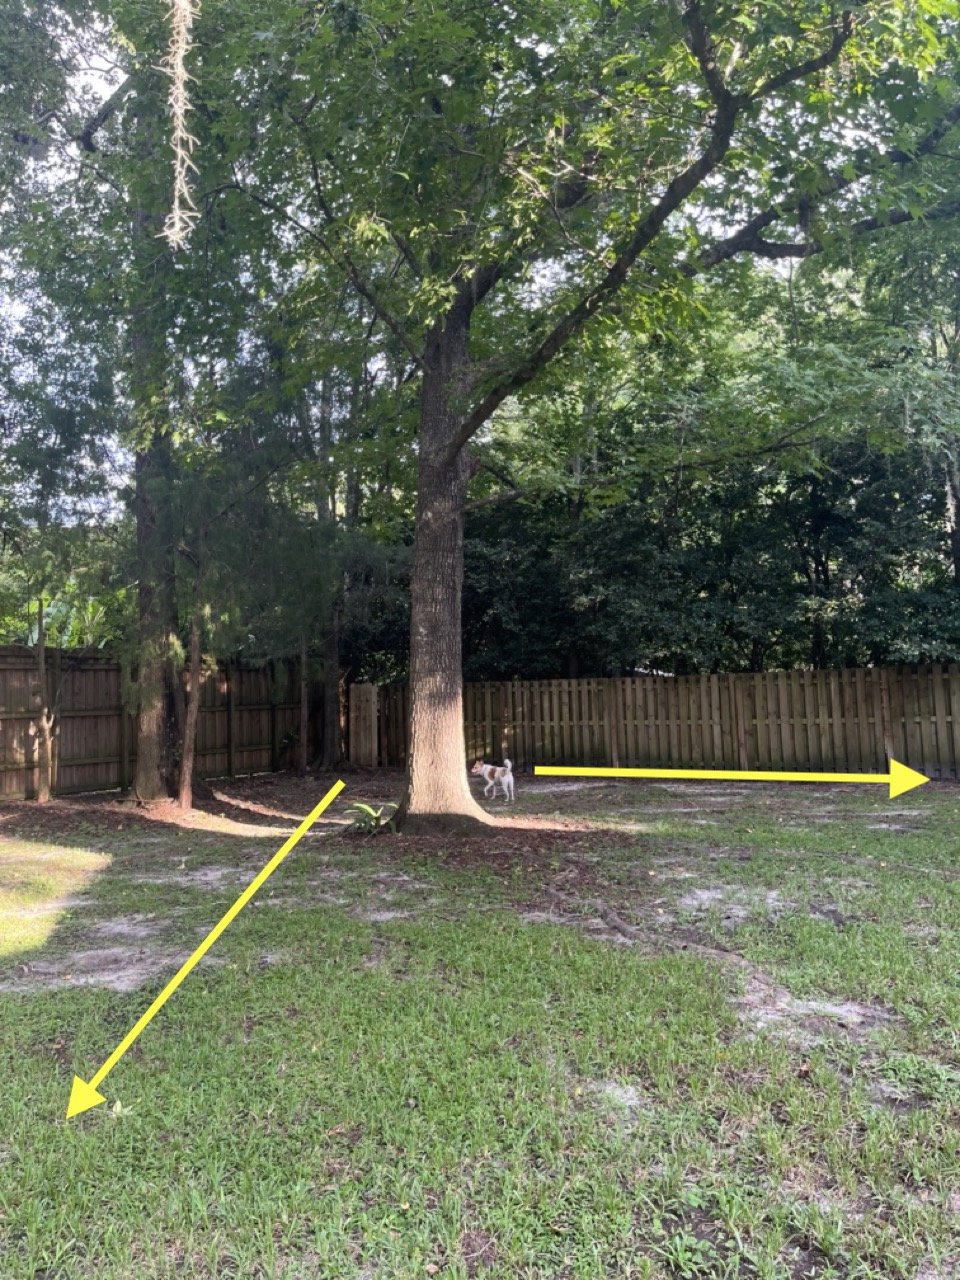
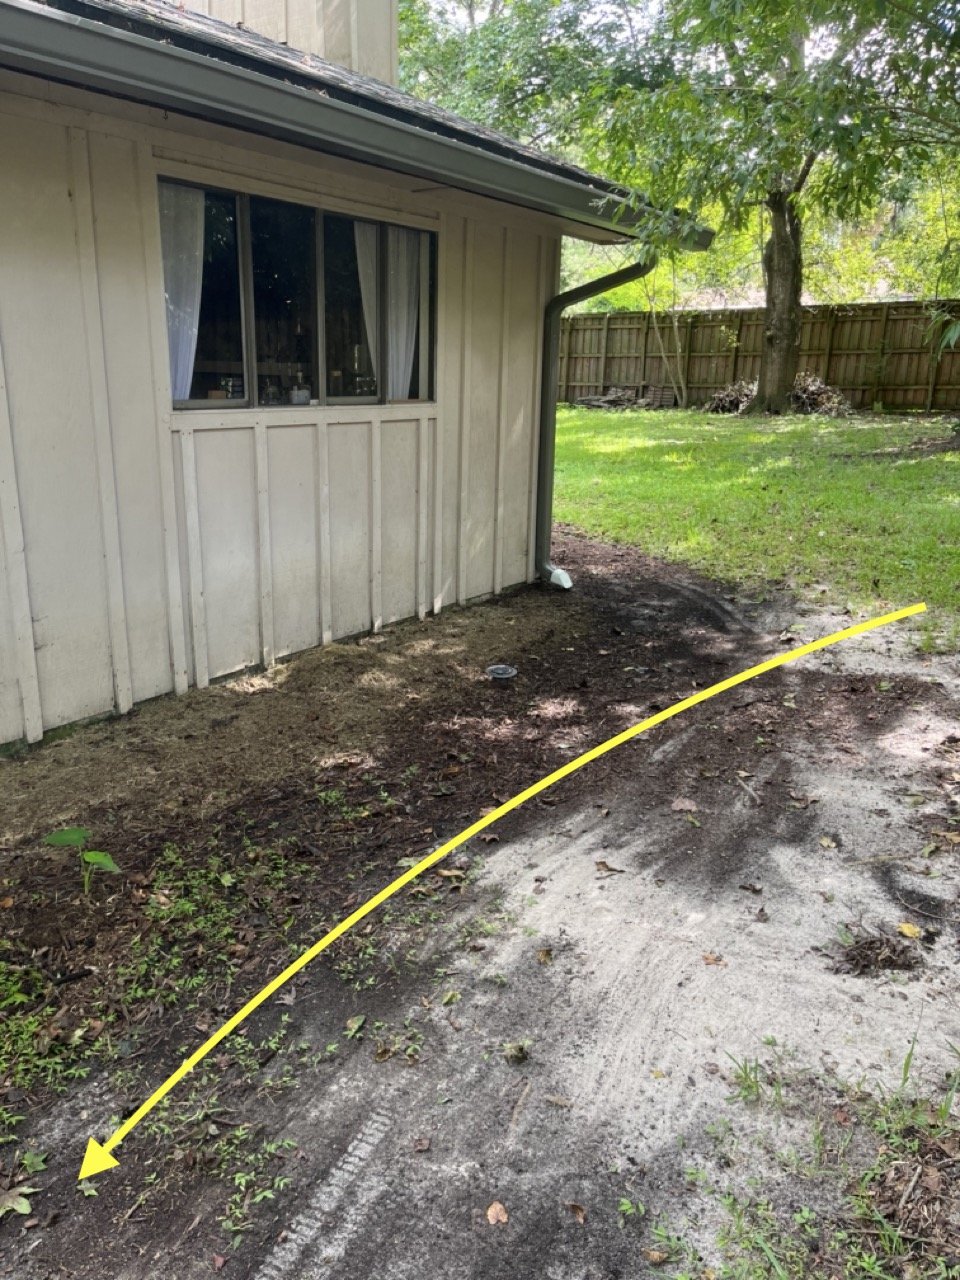
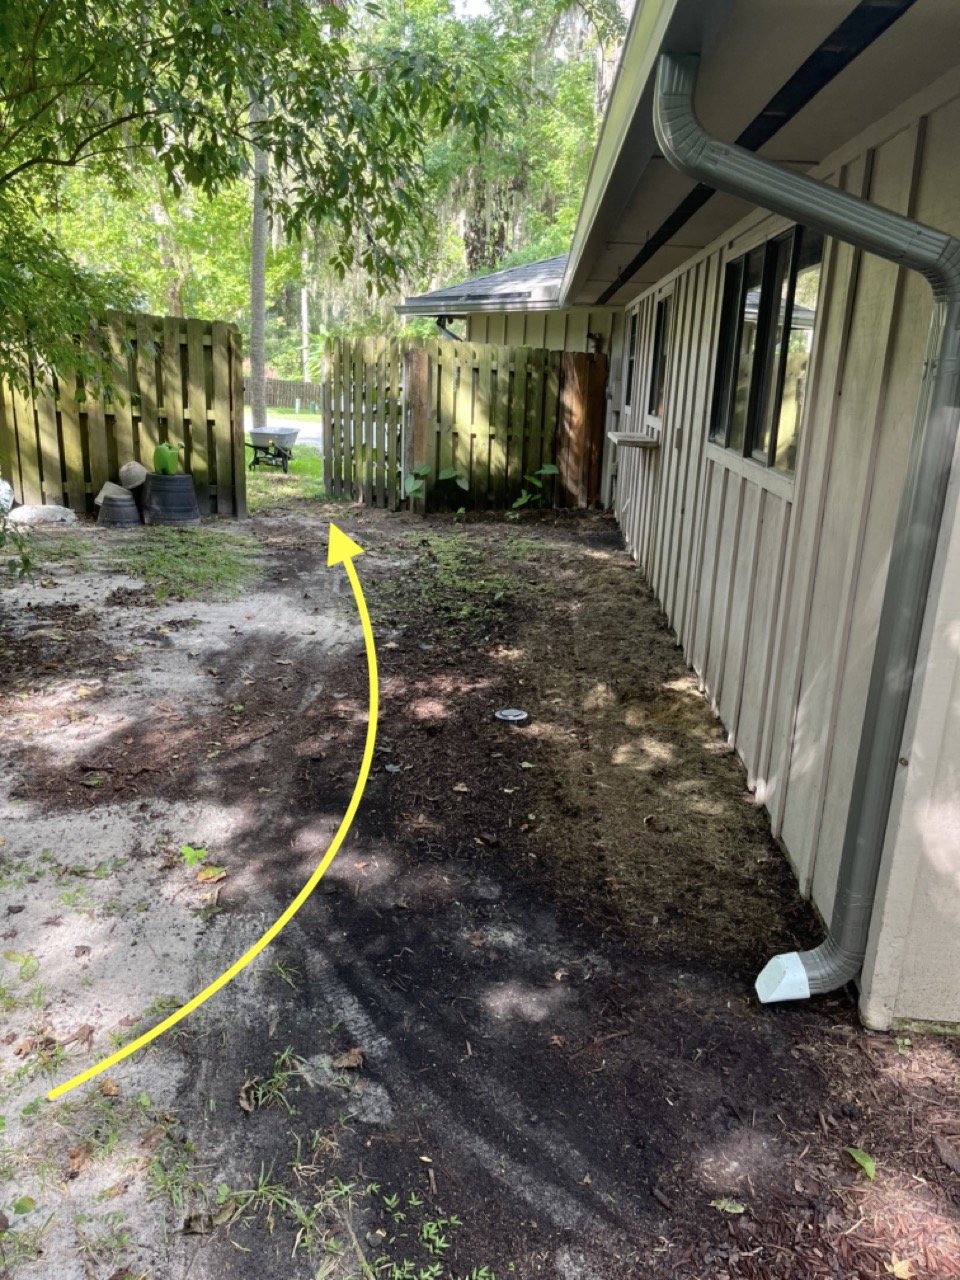
This required an iterative process over time, where sequencing determined outcomes:
No standing water and improved usability — with both function and beauty.
Primary Sources of the Problem
Two issues became obvious fairly quickly with observation.
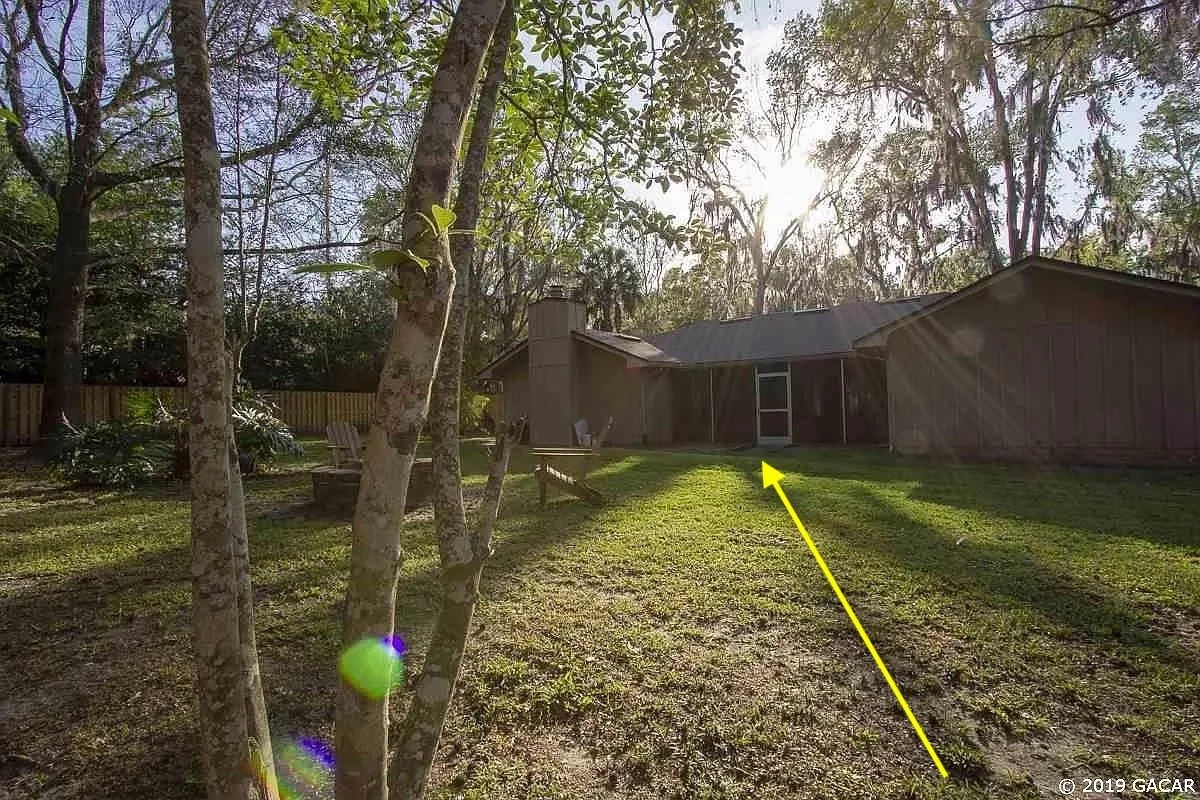
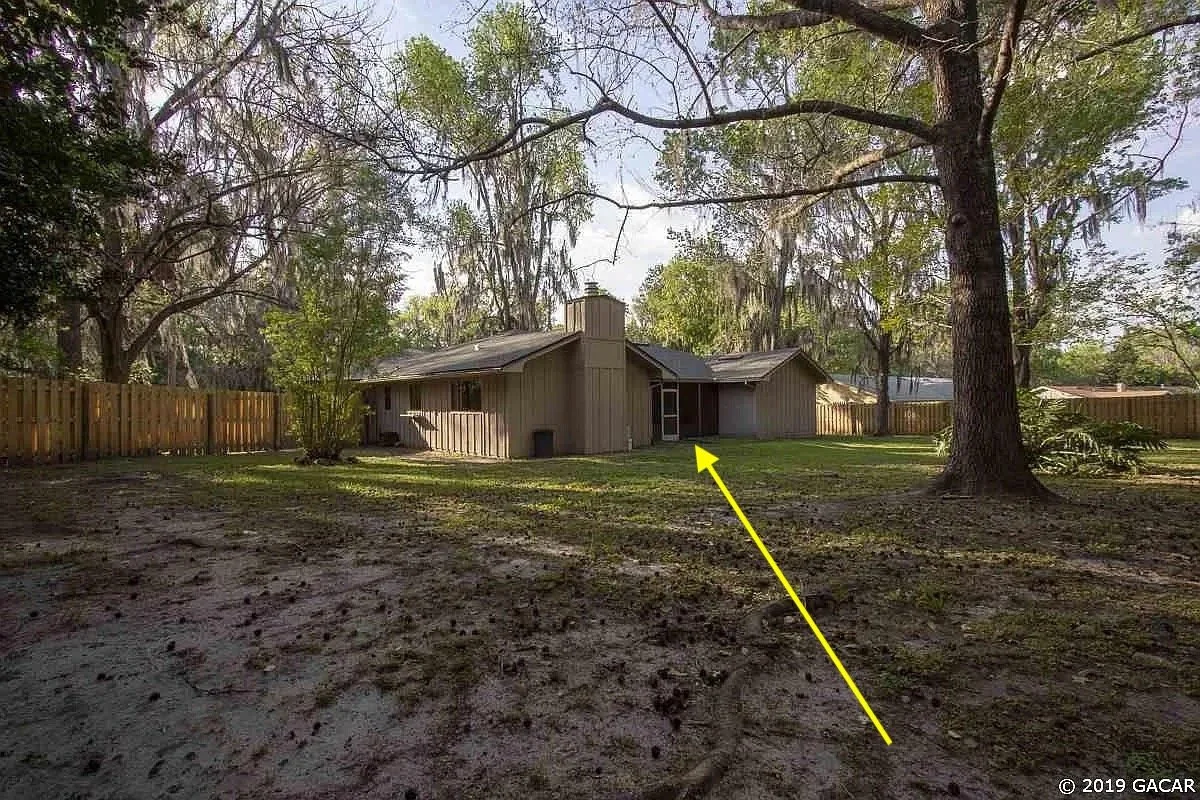
First, the patio was the lowest point in the center of the yard.

The second issue was that on one side of the yard a single huge tree in front of the gate — combined with topsoil washout over time — had created a roadblock to surface water escaping the yard and flowing down to the road.
On closer inspection that particular tree was in fact was rotting from the inside out, likely from being underwater frequently for months every year, over a period of what was probably decades.
Tree and Root System Removal
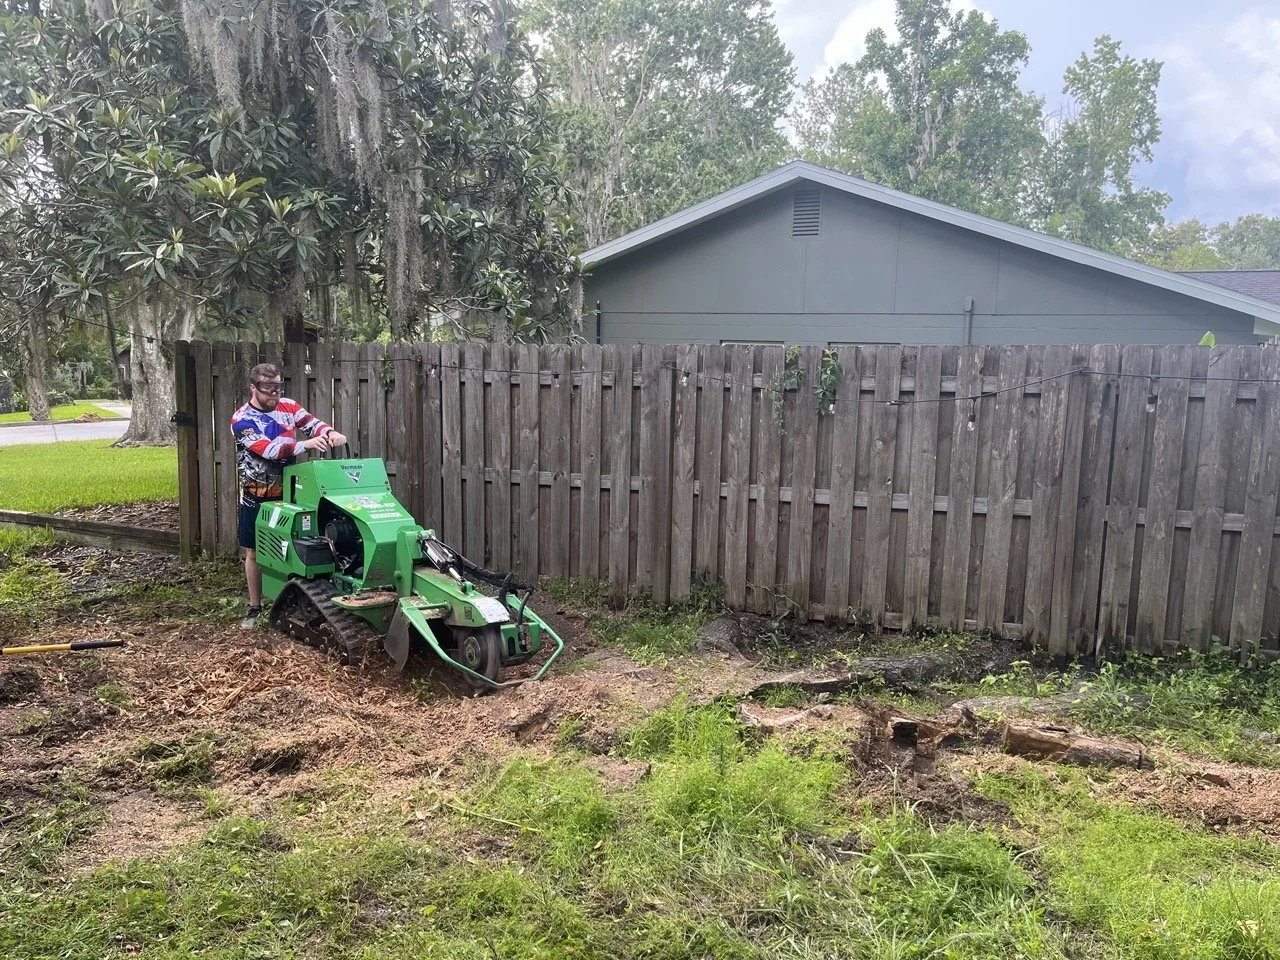
The system required removing that tree to restore flow.
Even after removing the problematic tree the standing water issue on that side of the house persisted more than a year later.
The surface root system continued to block the flow of the surface water.
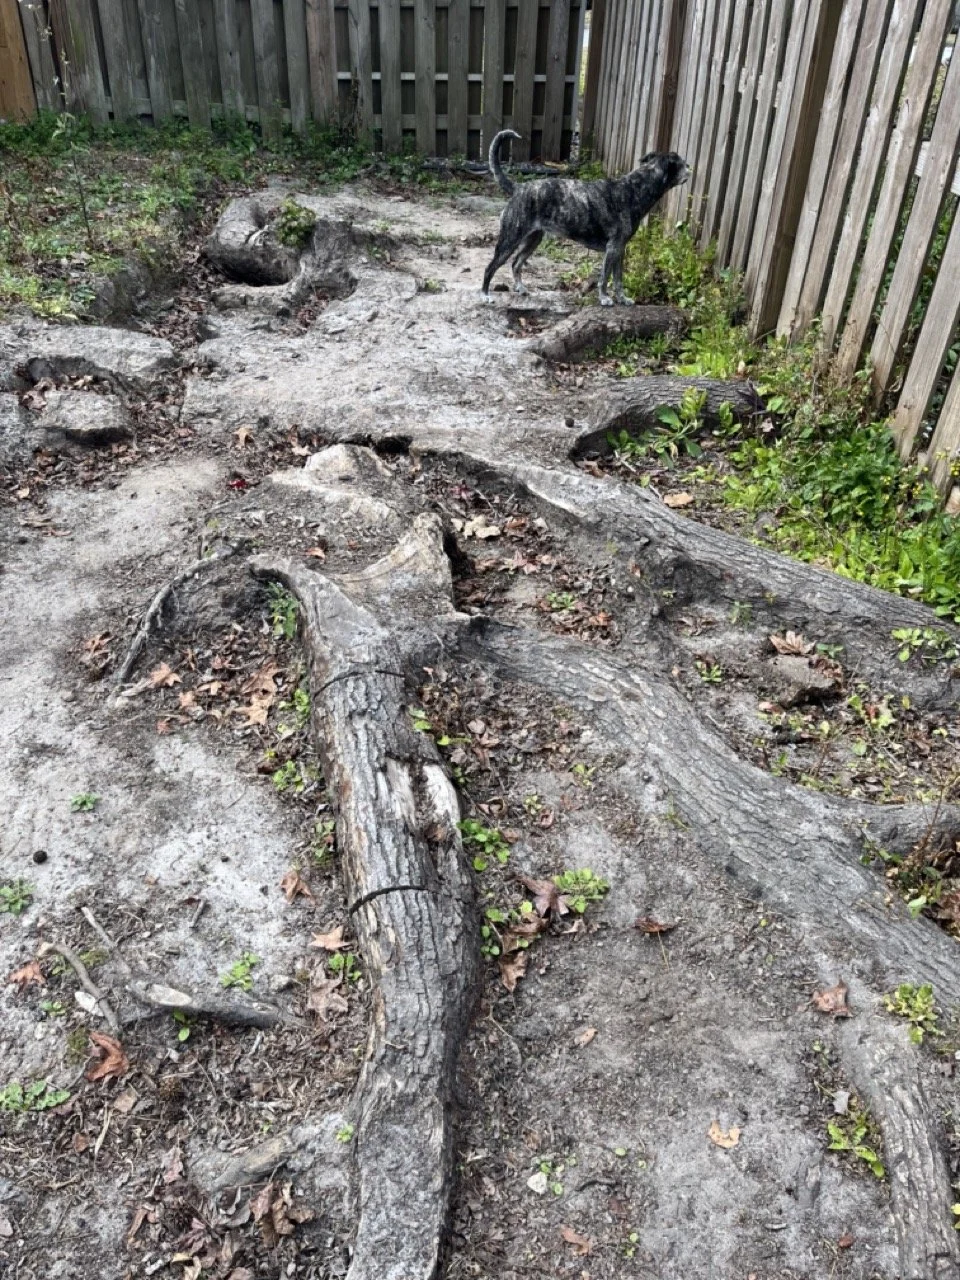
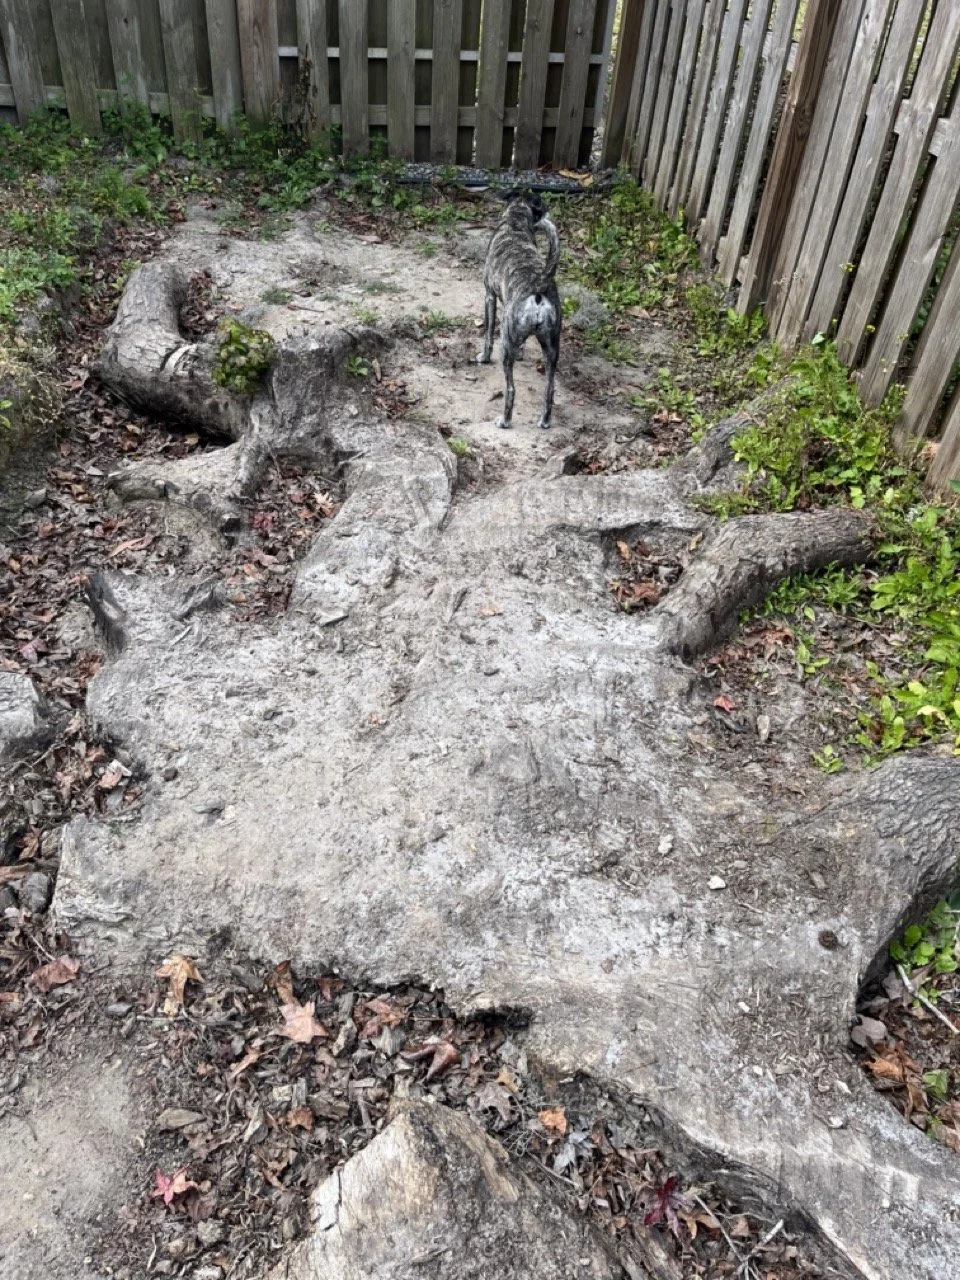
The remaining root system continued to block flow and needed to be removed.
Several Additional Issues Emerged
Third, that same diagonal path across the yard included lower points that, once full with surface water, ran toward the patio. That surface water flow also ended at the tree blocking the gate — which contributed to the standing water accumulating on that side of the house.
The fourth issue was that the water flowing on the other side of the house also ended at a low point that collected standing water.
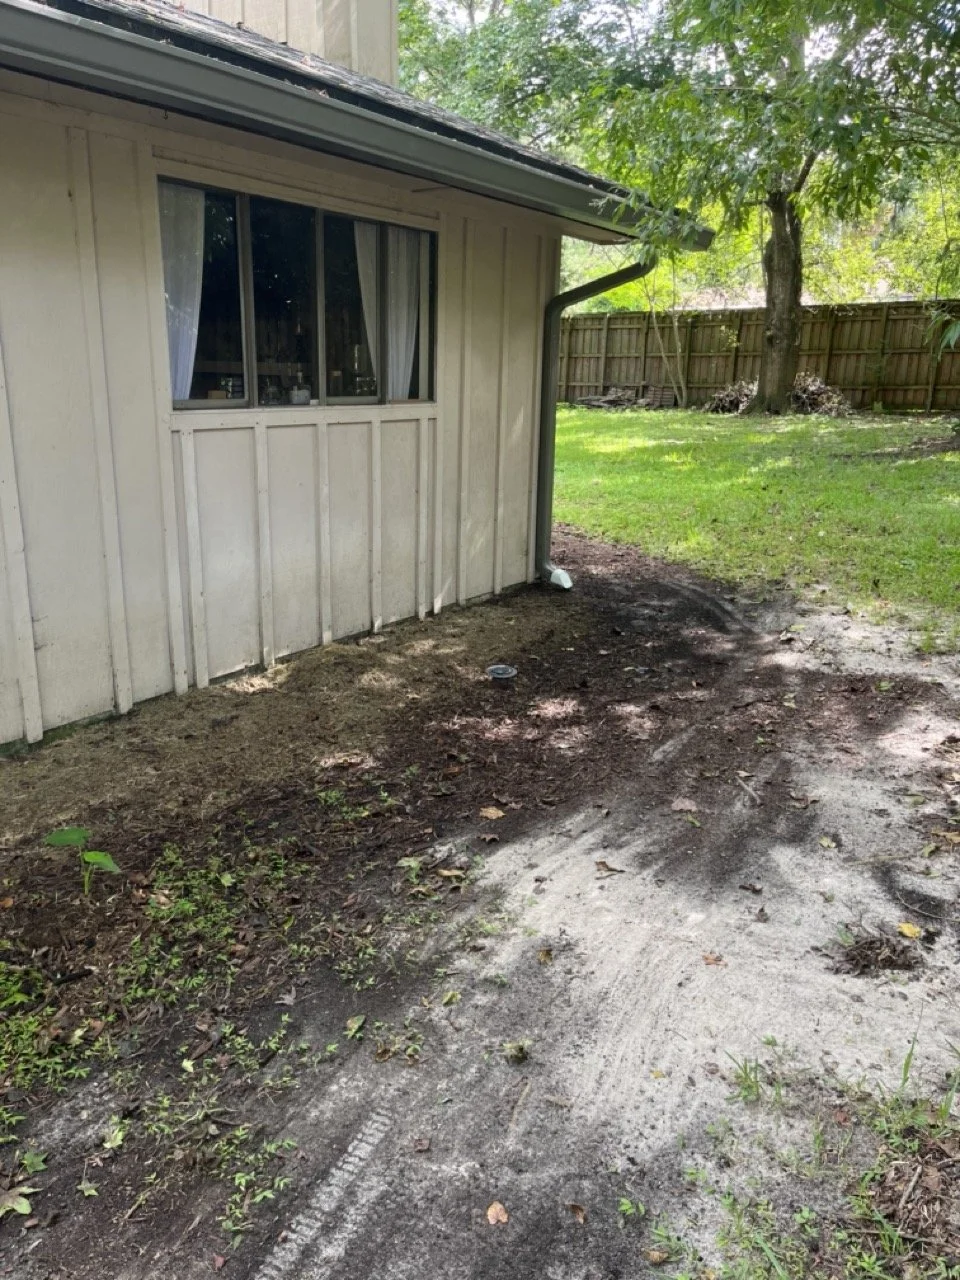
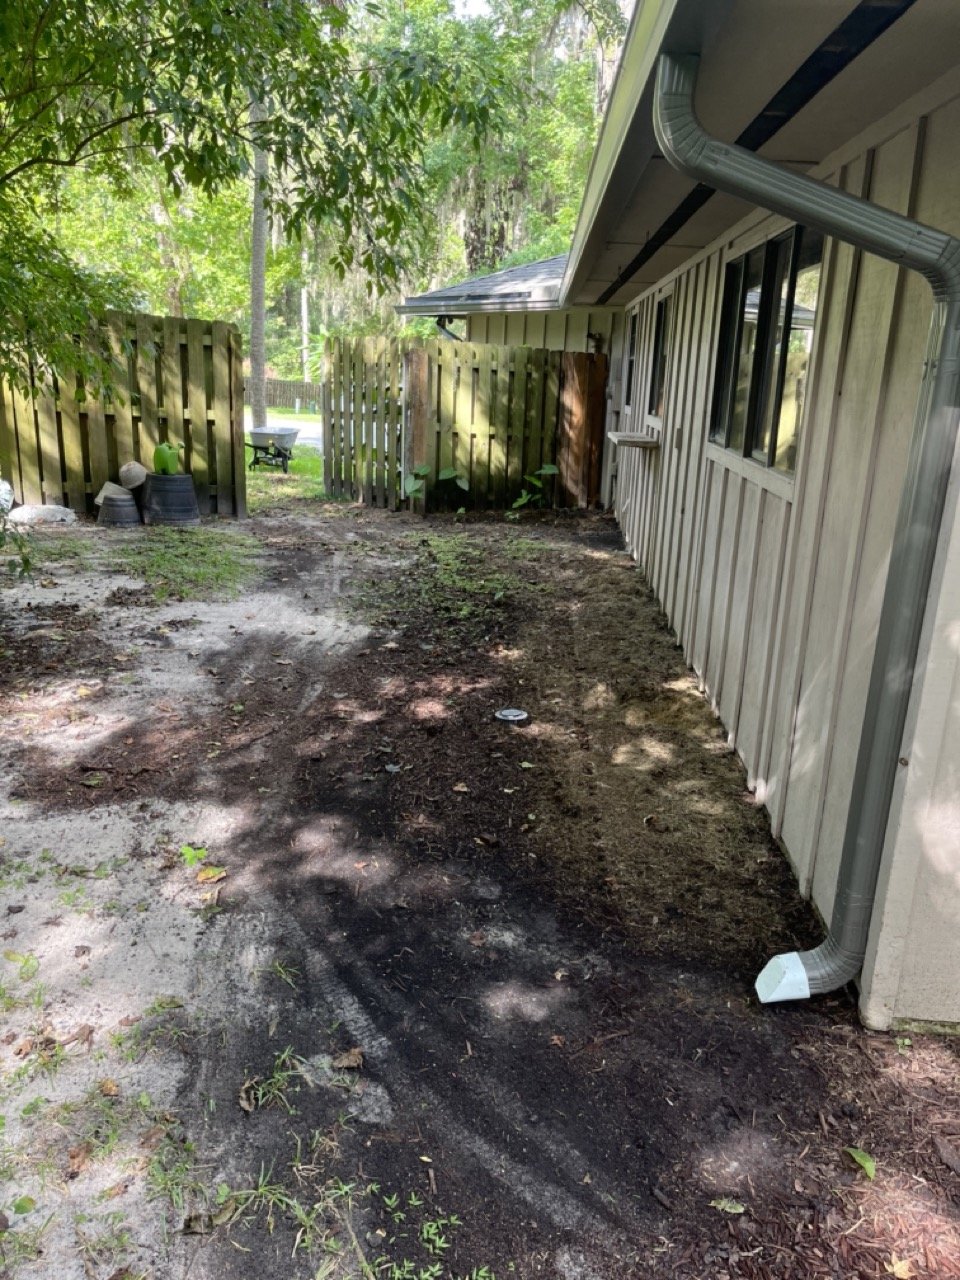
Finally, the gutter downspouts drained directly next to the house, rather than running away from it, which contributed to standing water.
The Operator Mindset: Importance of Sequencing and Timing
Like every project, unexpected needs, constraints, and add-ons appeared over time. My strategy needed to be able to adapt to shifting conditions. And, it needed to accommodate for any future aesthetic or recreational additions my future self may want.
Complex systems don’t fail because we lack solutions. They fail because we apply solutions before we understand the system.
Intervention
Two intervention paths emerged: dig down or build up.
I needed to prevent surface water from pooling in low points in the center of the yard and flooding the patio once those low areas filled with standing water.
Over time I ended up using both strategies to move the water across the yard.
Key idea: No single fix. Only staged adjustments over time.
Stage 1: Paver Installation
The first fix we tried was setting a drain box at the end of the patio walkway and connecting it to the existing drain lines that ran underground.
The idea was to catch the surface water that pooled and eventually invaded the patio.
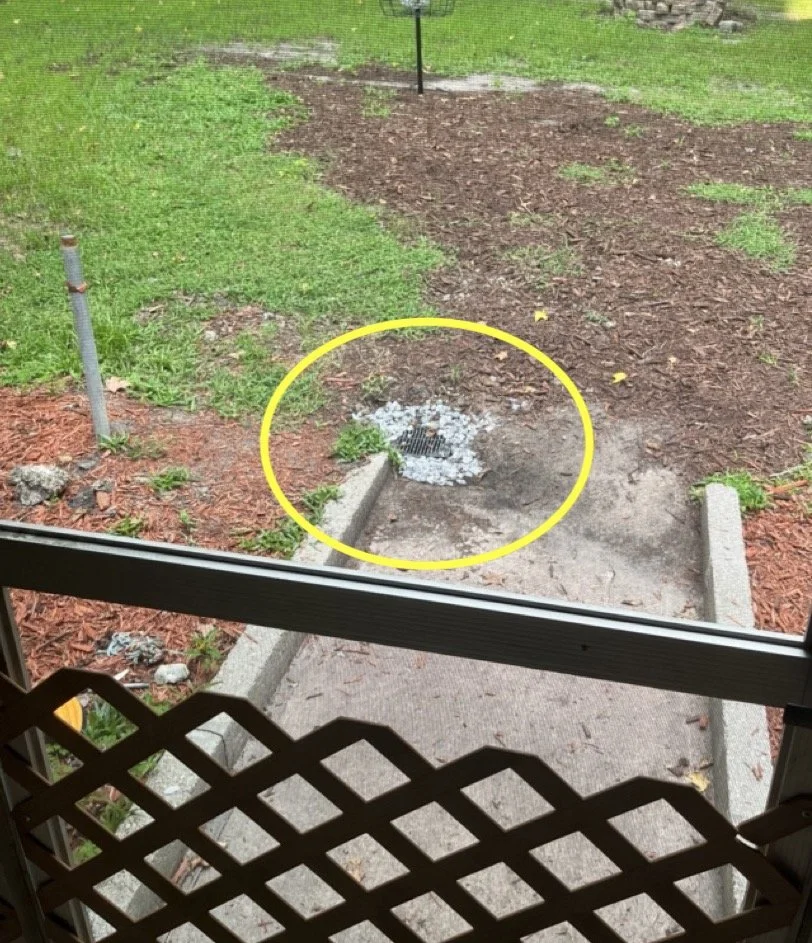
However, the existing drain lines could not accommodate both the volume of water coming from the gutter downspouts and the surface water flowing toward the patio.
We still had flooding during heavy rains.
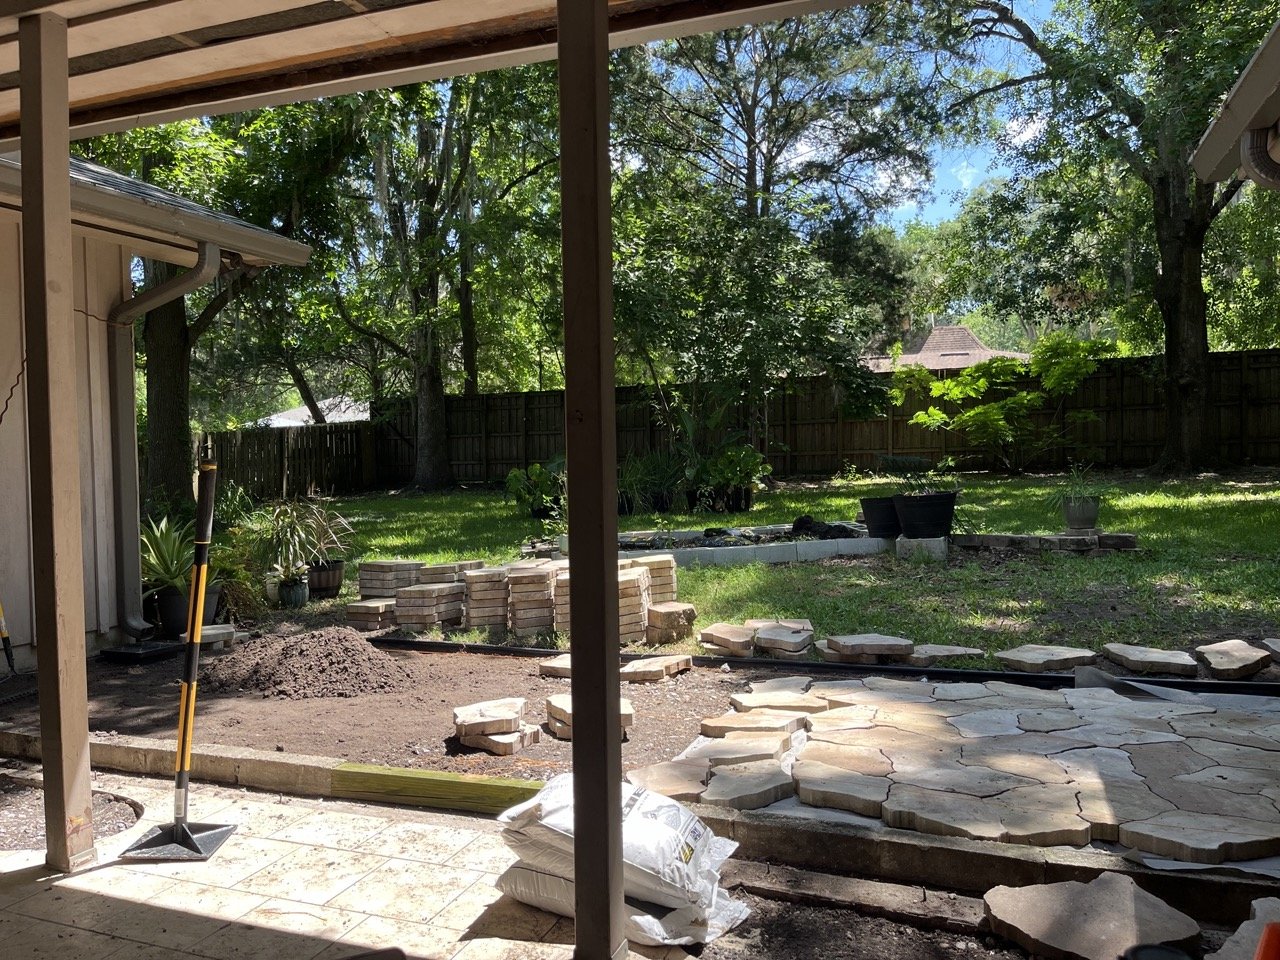
The next fix to try was to raise the area directly in front of the patio.
Covering the area with pavers was something we had wanted to do anyway.
This was the right time to try that approach for both flood prevention and increased usability.
We were excited.
Yet, soon after I started preparing the foundation I realized that the existing gutter lines were buried too high in the ground to achieve the grade I needed.
I was going to need to dig deeper first to re-set the drain lines lower in the ground.
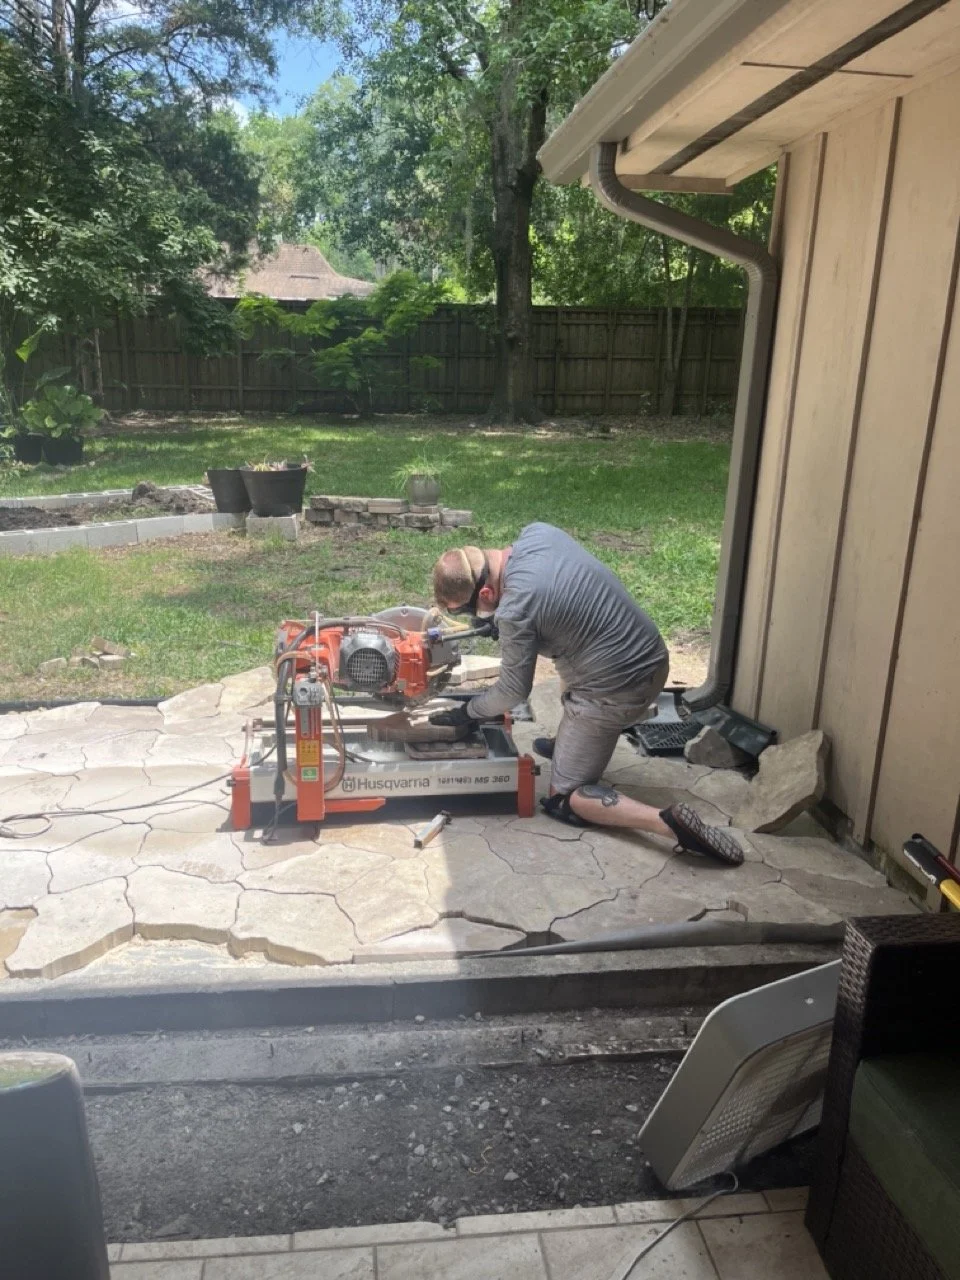
My husband Tim helped with the cutting.
So far, the re-set gutter lines and finished pavers have served us well.
No more flooding on the patio.
Stage 1 complete.
Stage 2: Save the Trees
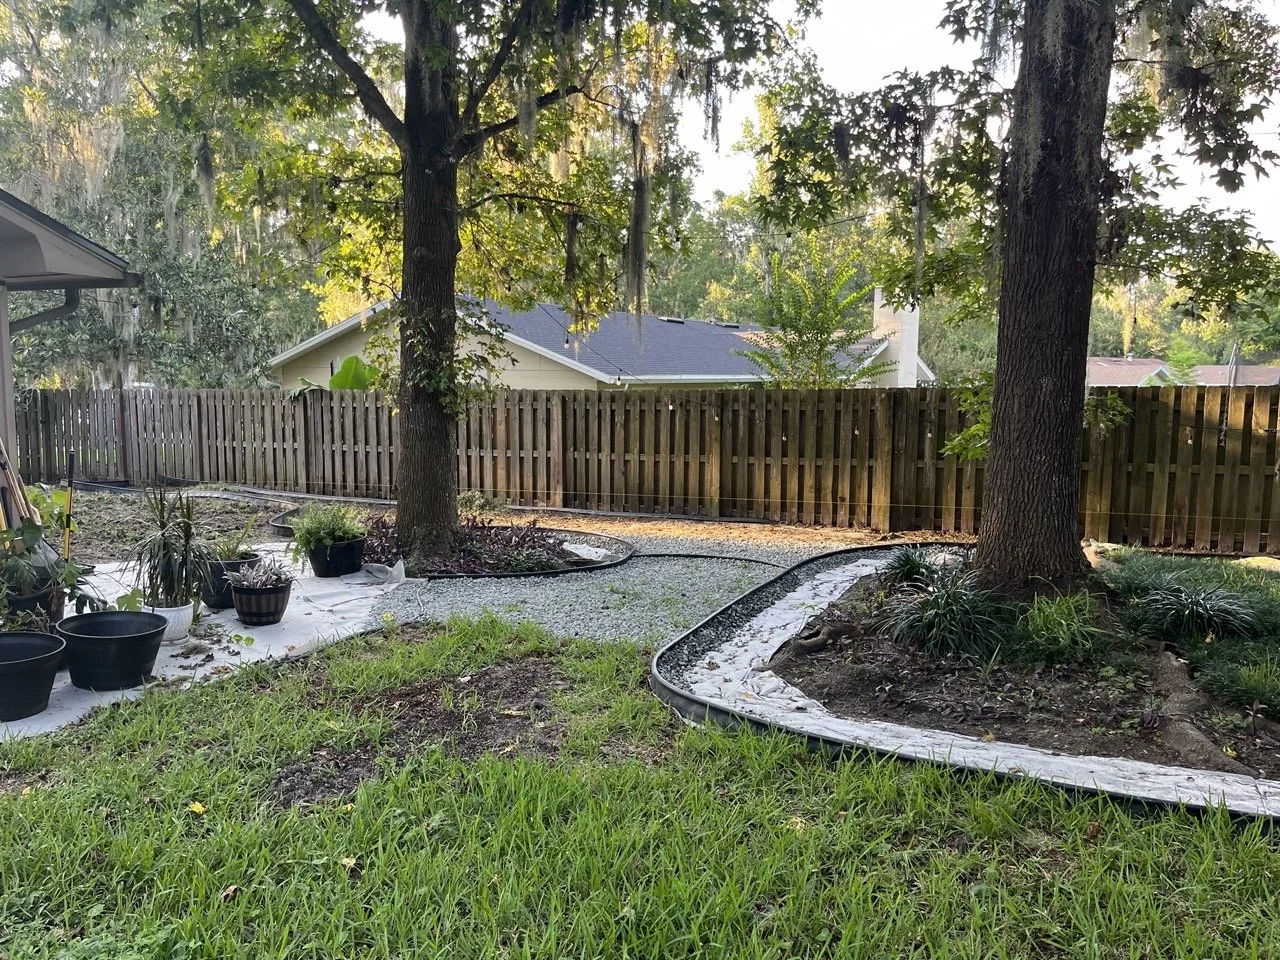
The two trees pictured here had been occasionally drowning with standing water as a result of the tree and root system blocking the escape through the gate and to the road.
This was likely a problem for many years.
To preserve their remaining lifespan I needed to tackle that issue next.
To accomplish this stage I first created a barrier around the trees to push water away from them and prevent them from being surrounded by standing water after heavy rains.
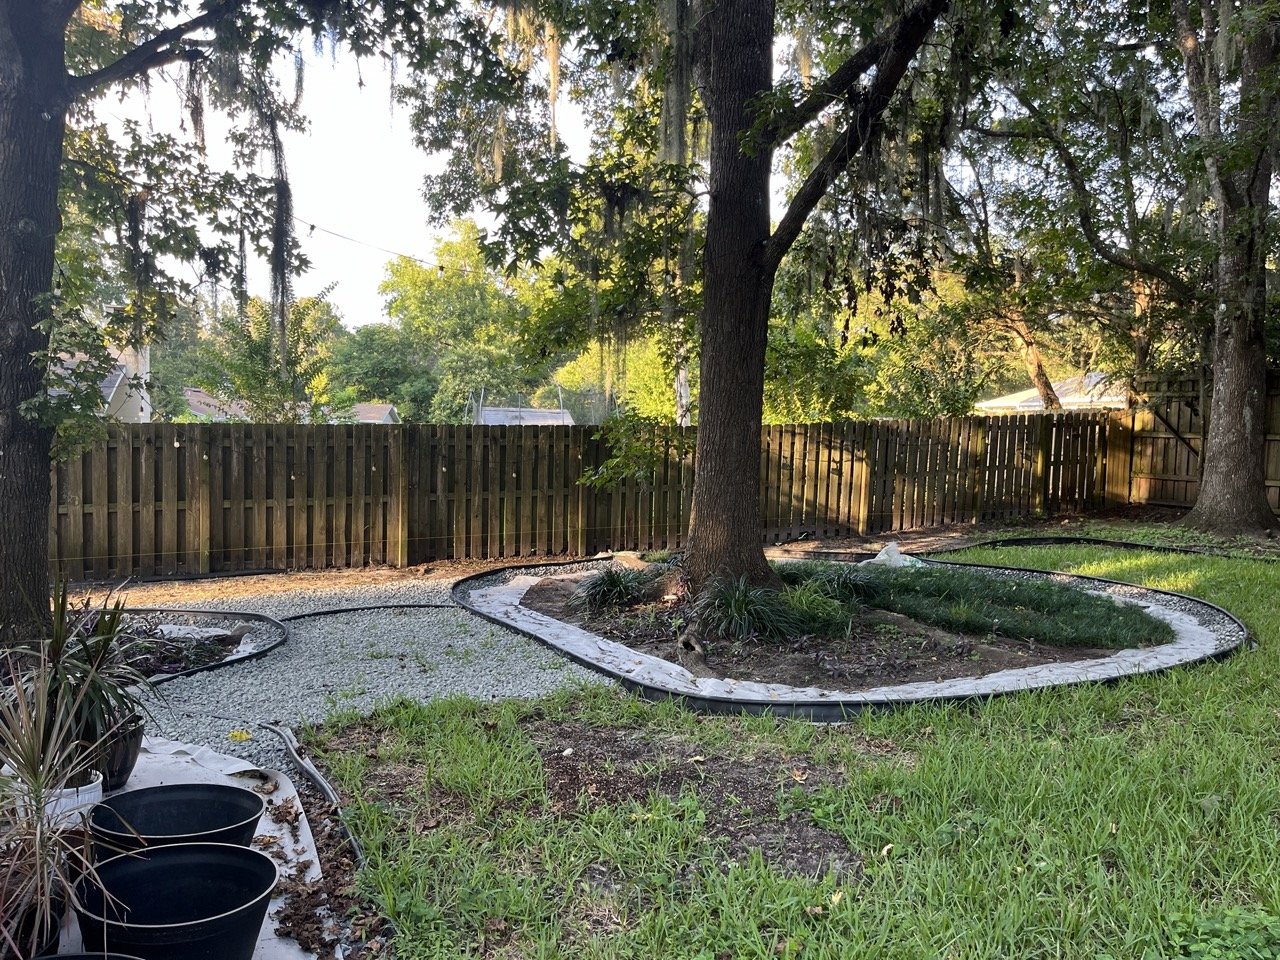
Next, I created a two step stair-like system to keep surface water inside the trench along the fence rather than accumulating.
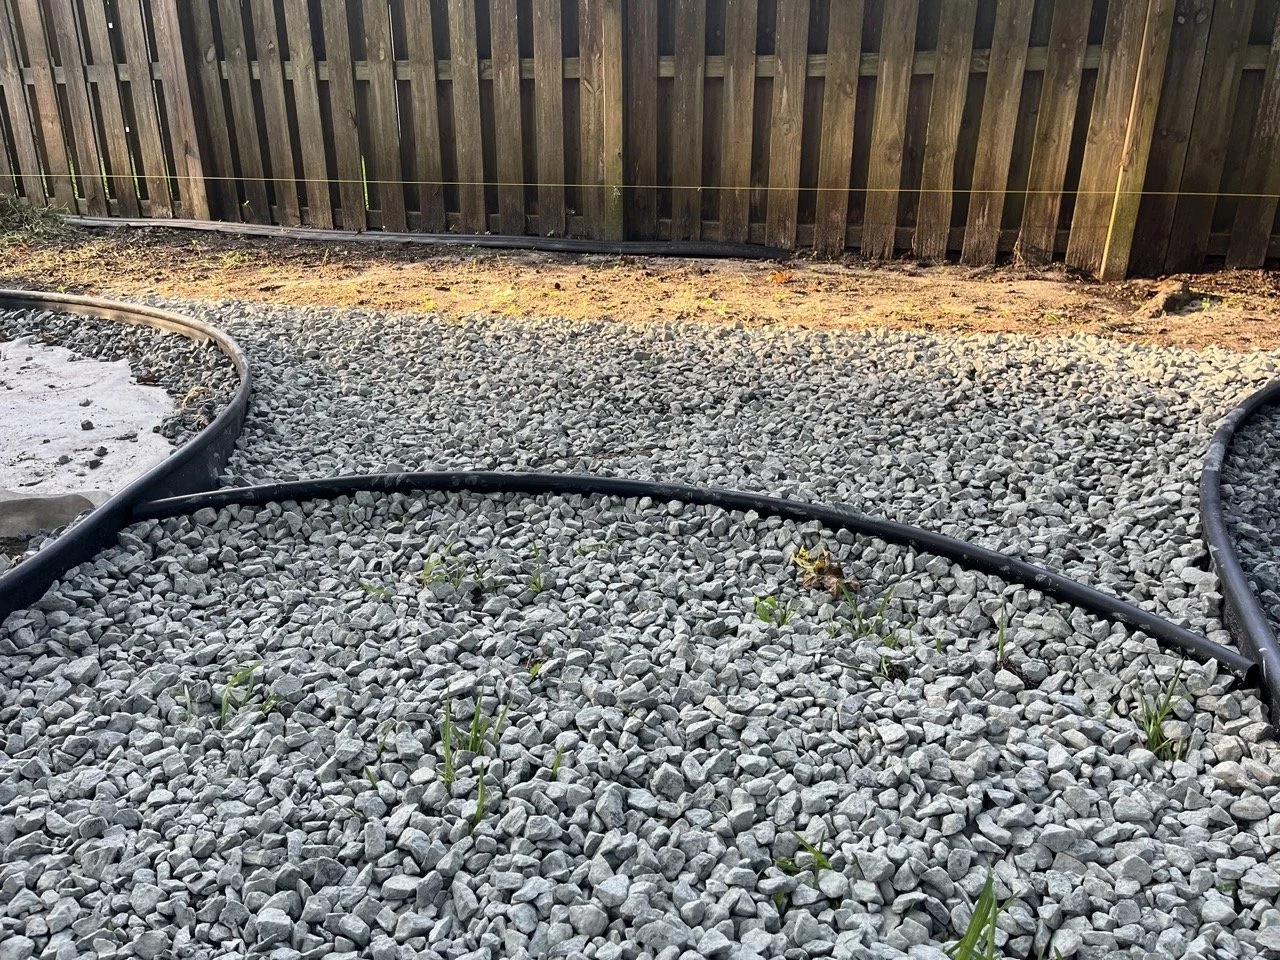
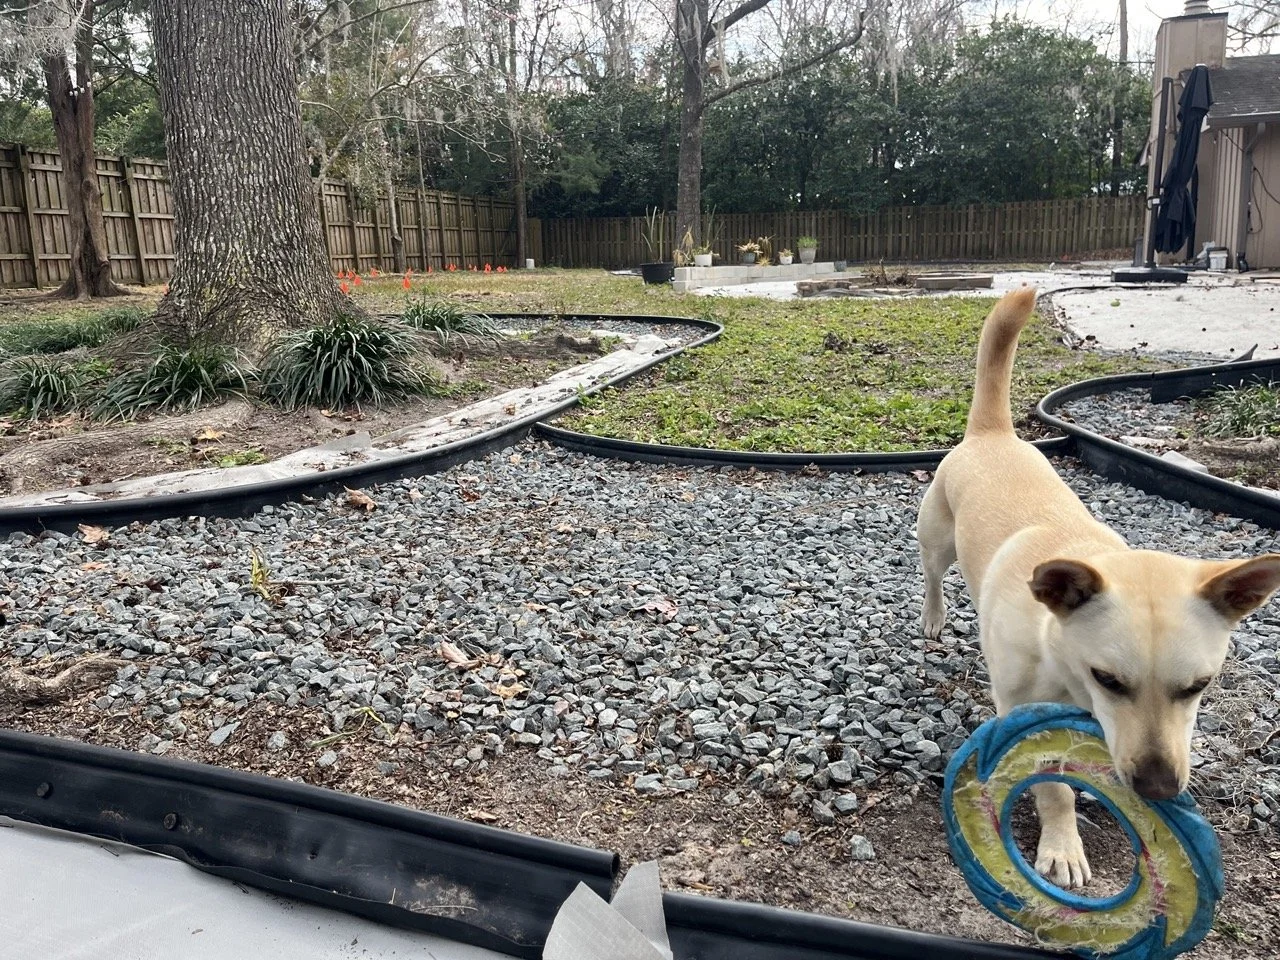
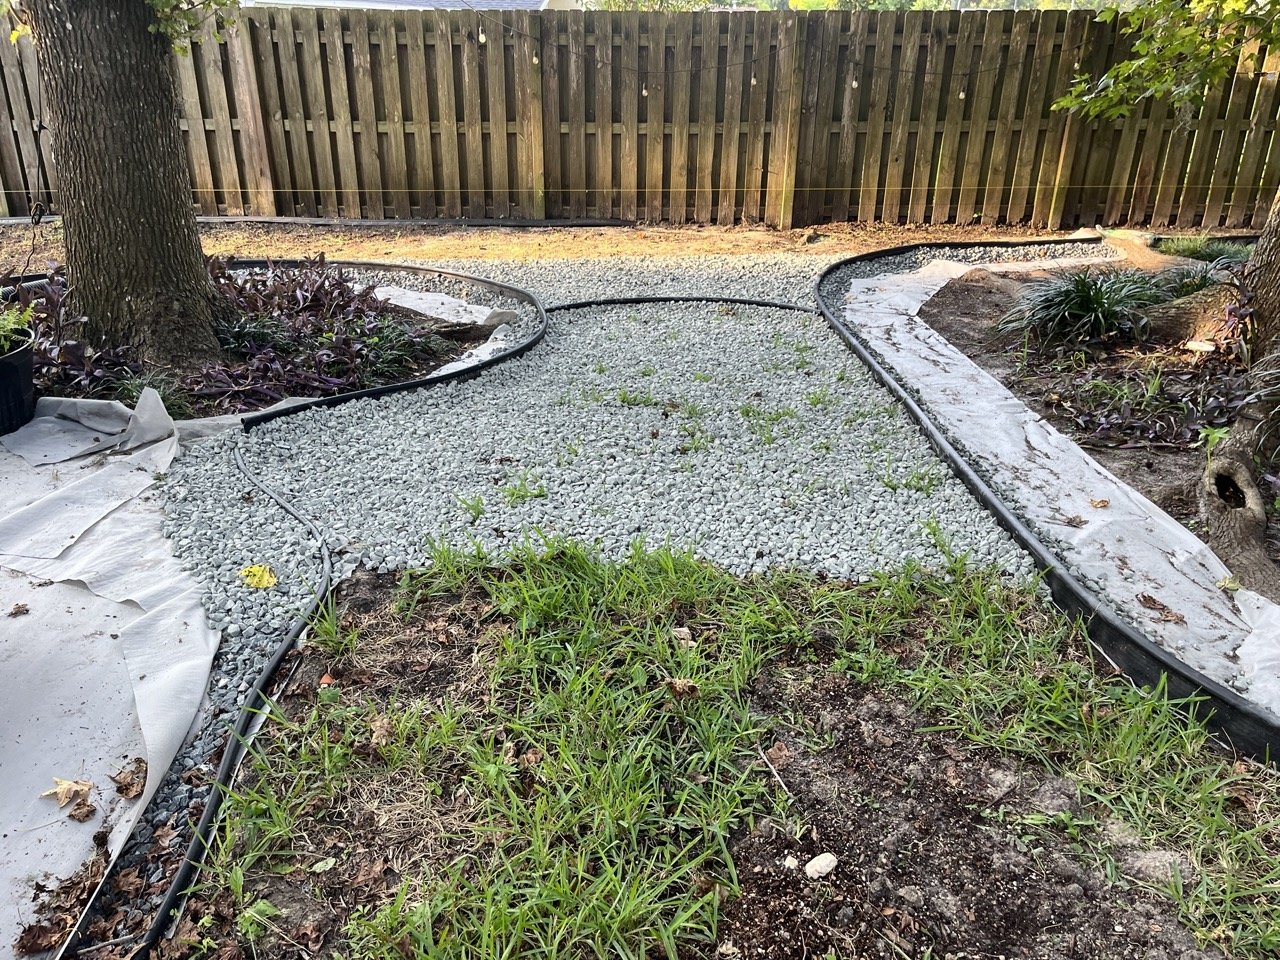
After digging out the trench a bit more Stage 2 was complete.
Stage 3: Fixing the Surface Water Flow
The next step was to build up the low areas in yard with fill dirt and re-route the surface water that flowed diagonally across the yard.
Aesthetic appeal was a constraint of the system.
So, I opted to create mini-trenches to move water strategically and sculpt the yard into an English garden design.
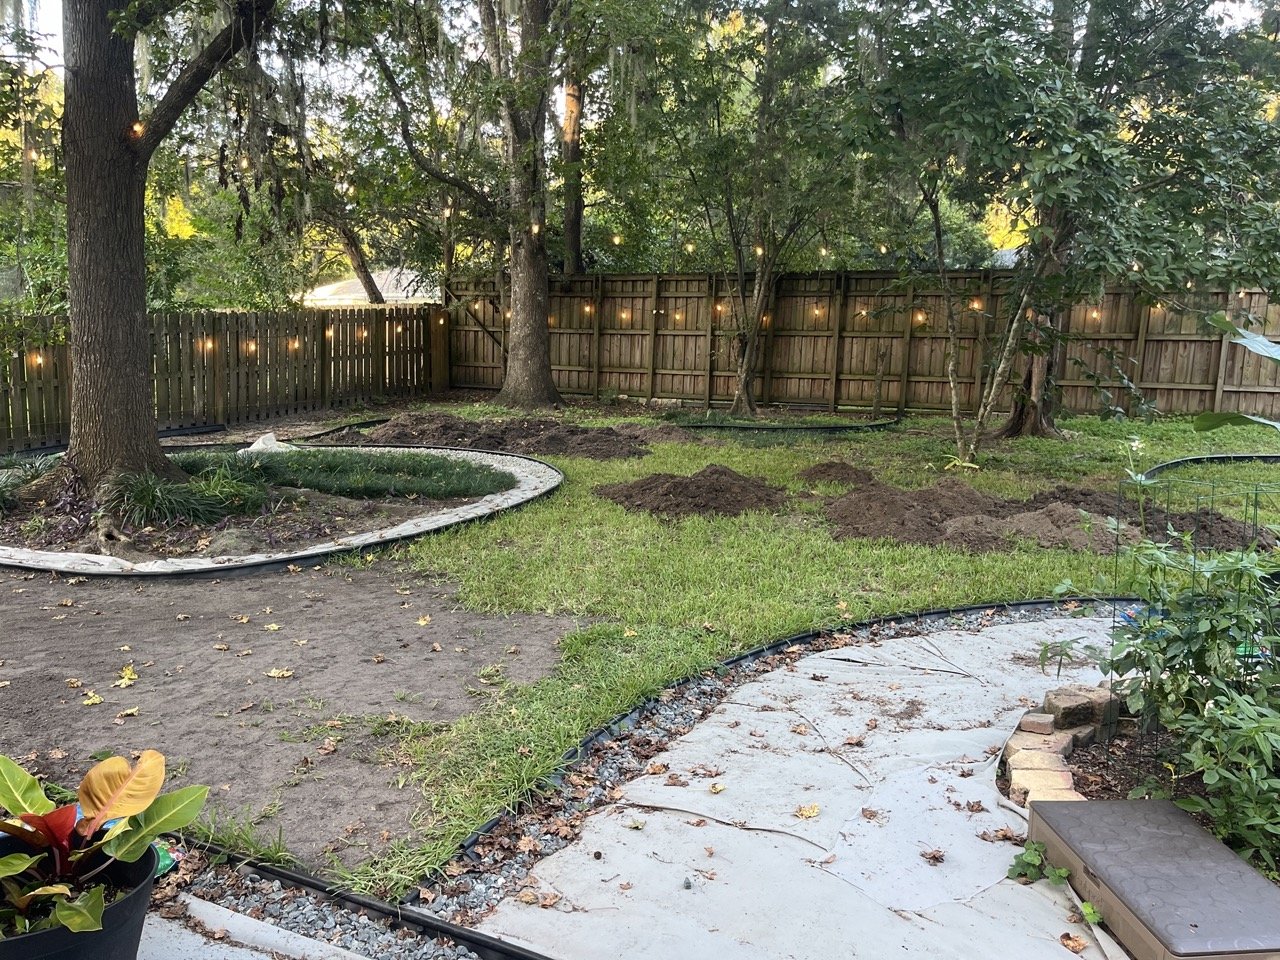
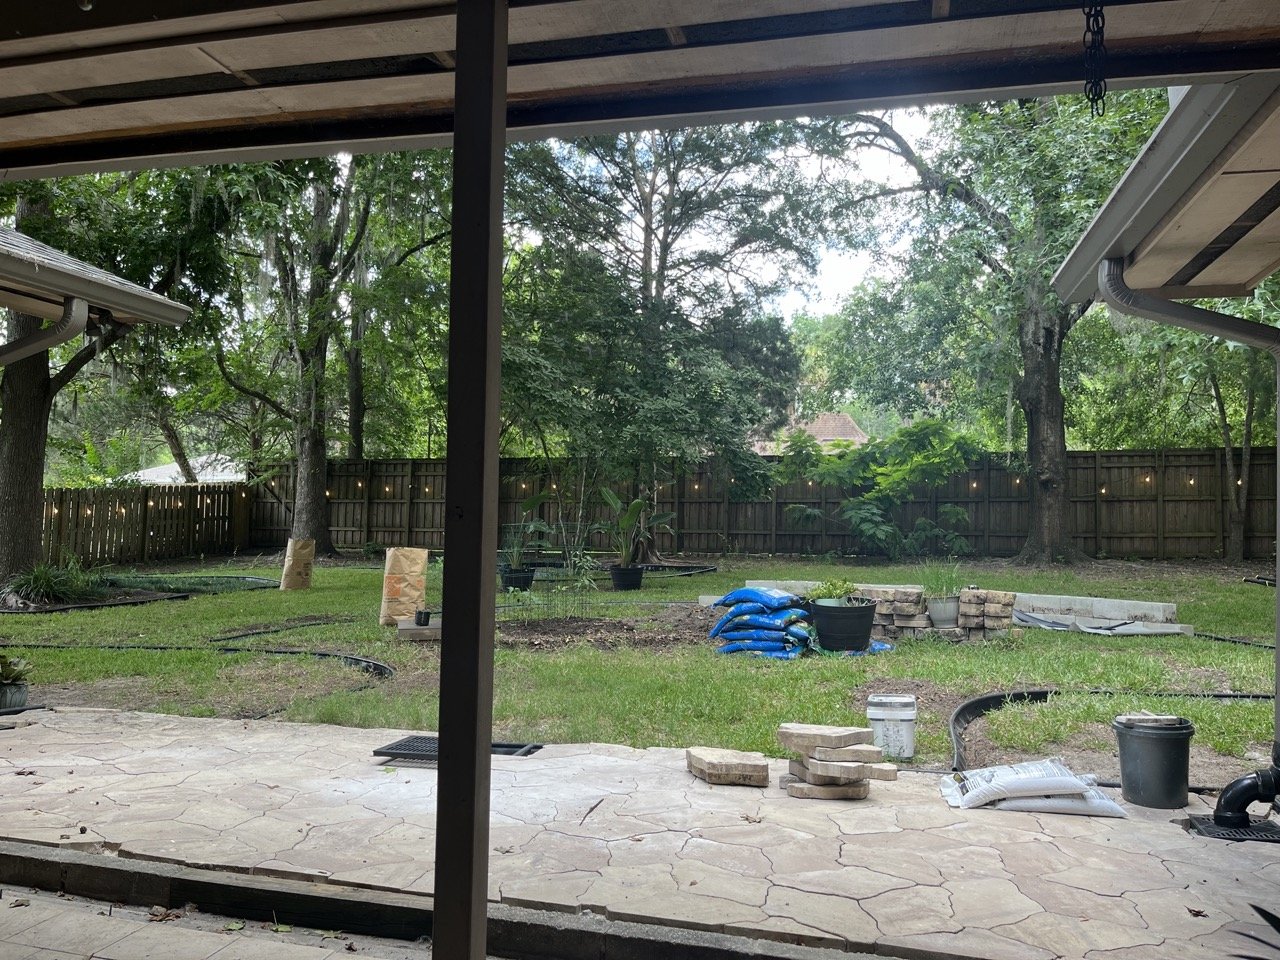
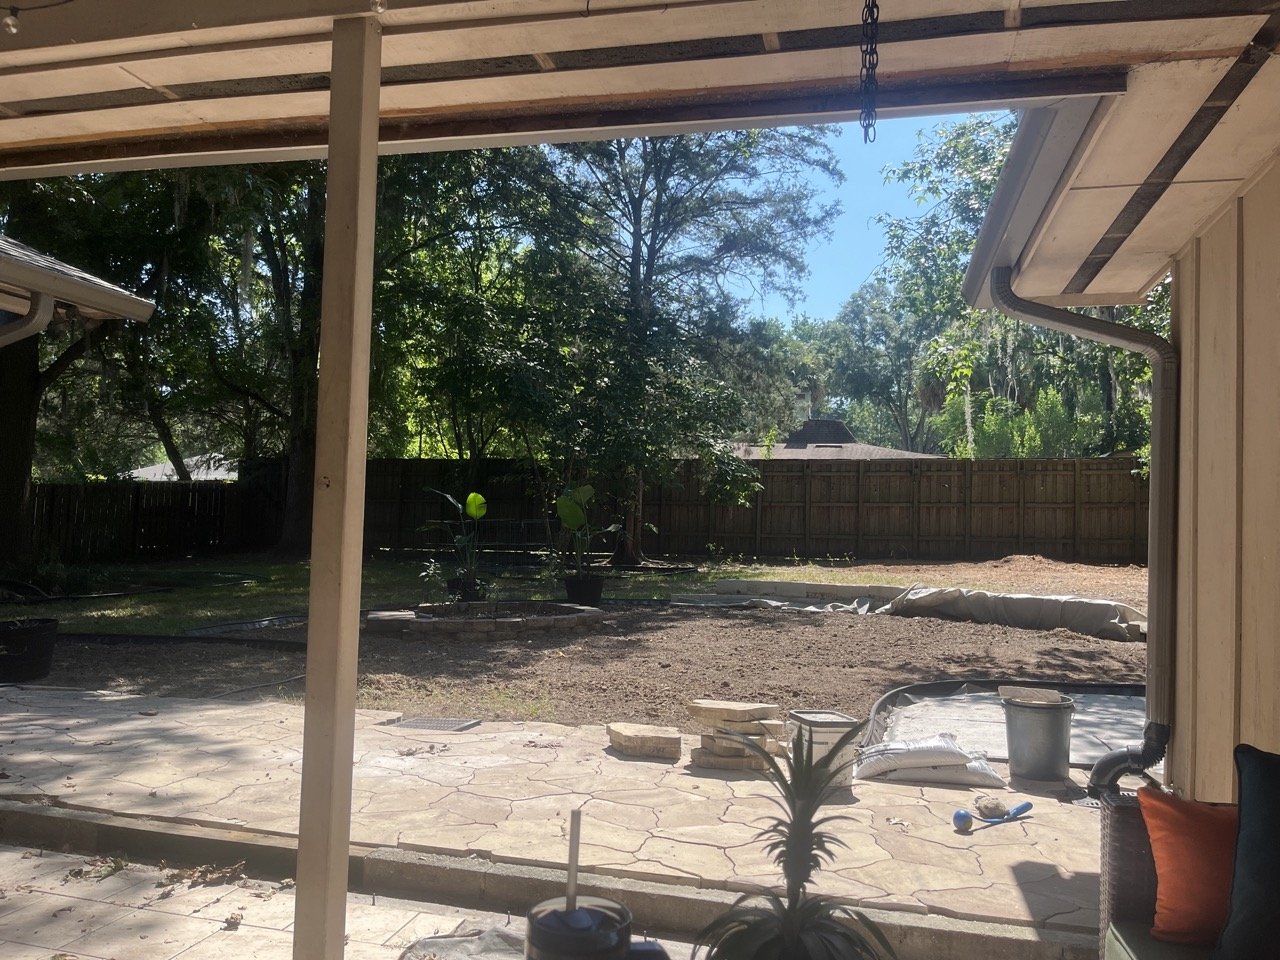
Stage 3 was complete.
Stage 4: Moving the Surface Water Underground
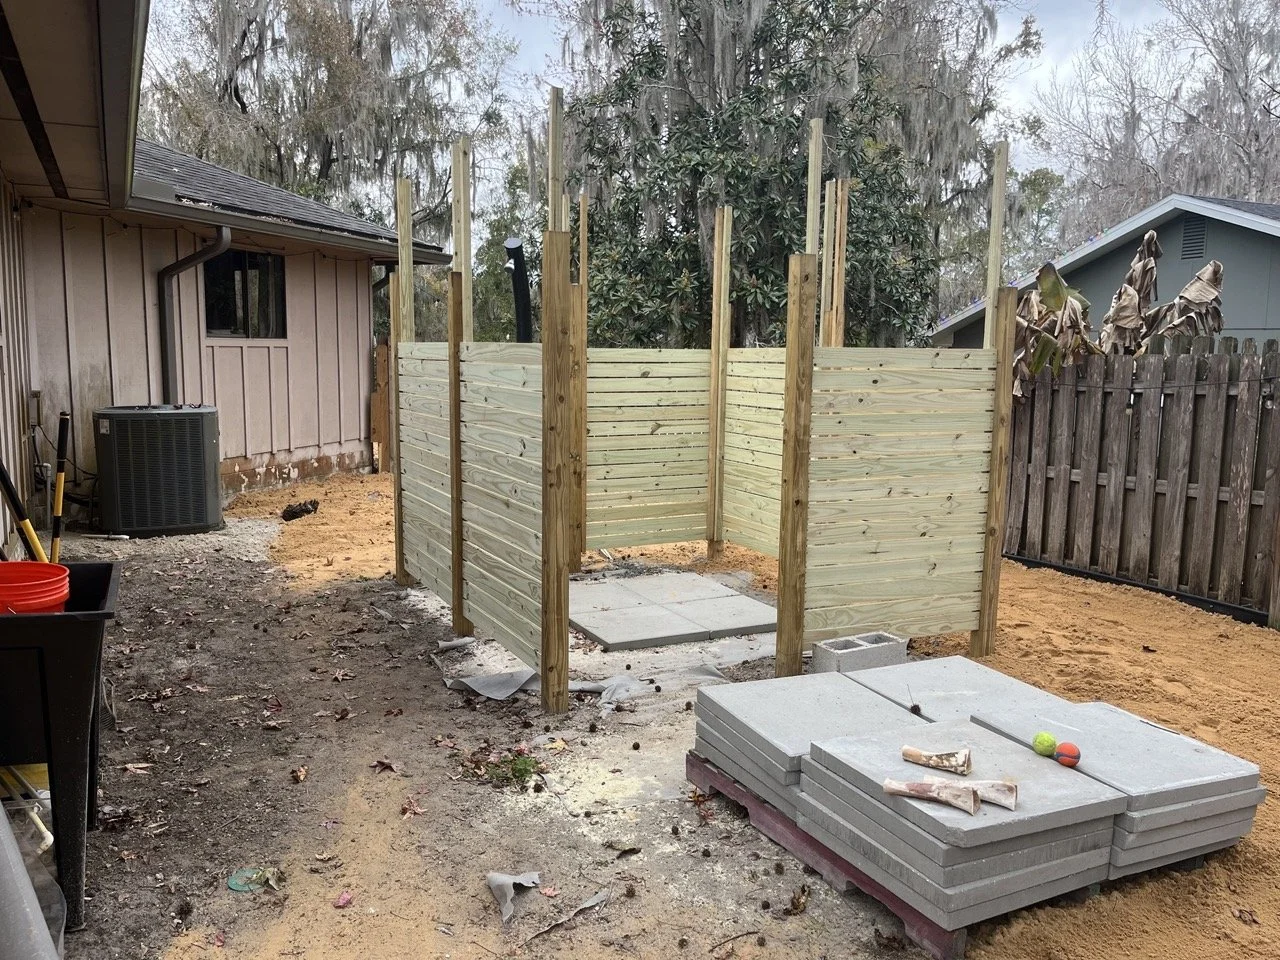
Stage 4 arose when I decided I wanted to build an outdoor shower amenity. Before I could start on that project I needed to complete several additional steps to move surface water underground and build a strong foundation for the surface where the shower would sit.
These additional steps were prerequisites for the usability and longevity of the future outdoor shower structure.
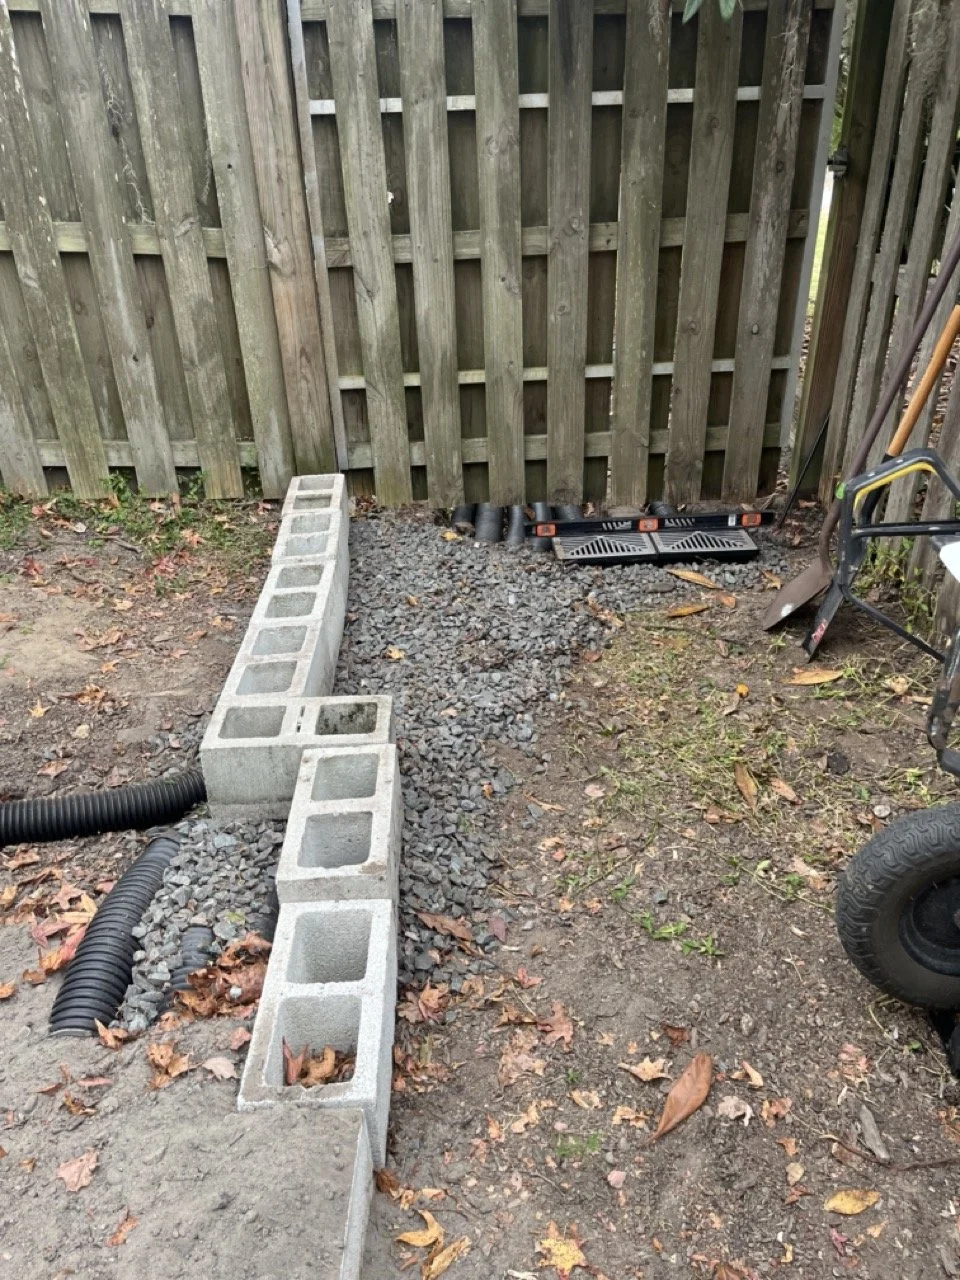
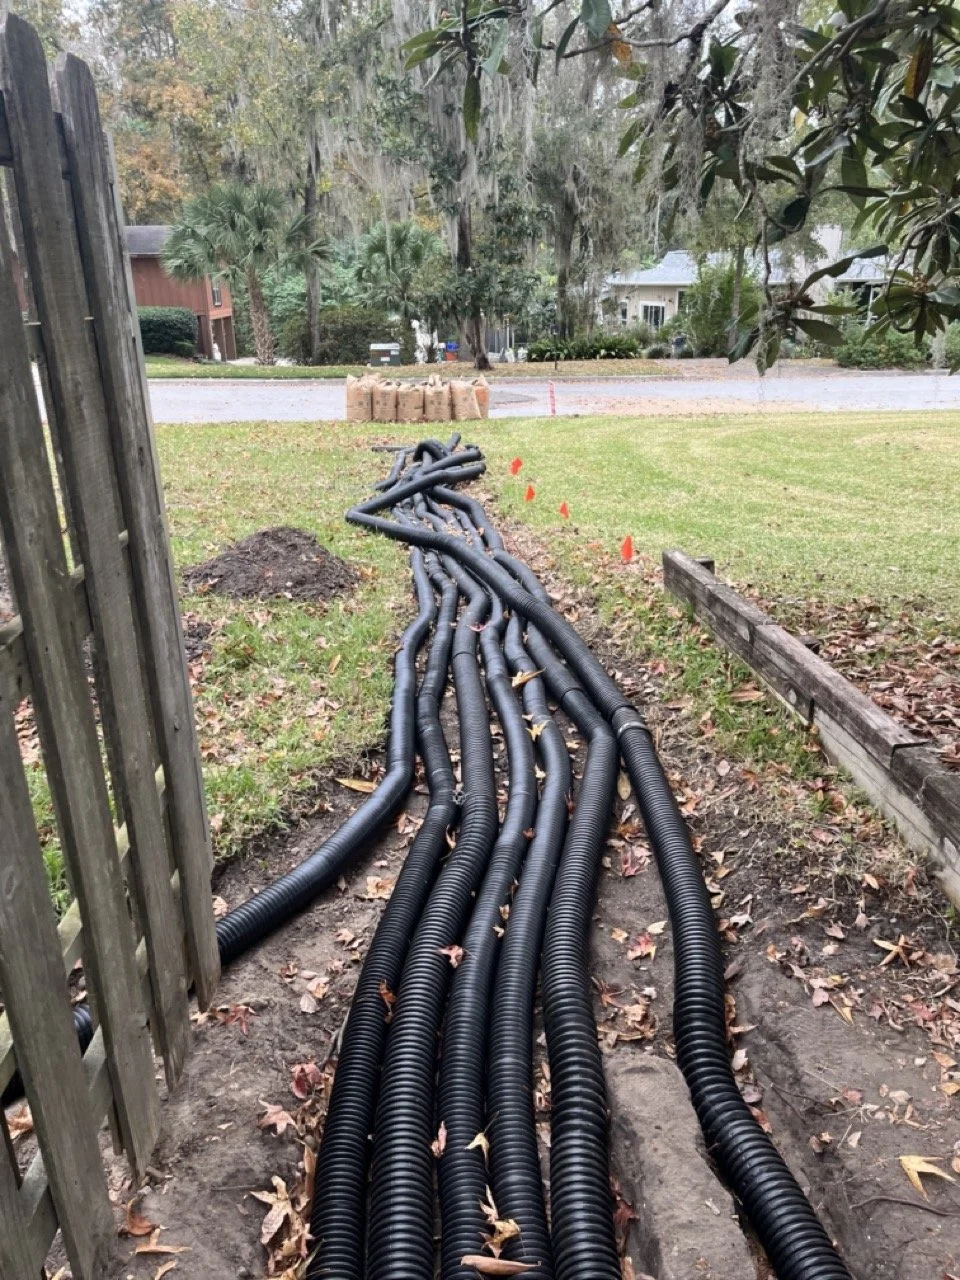
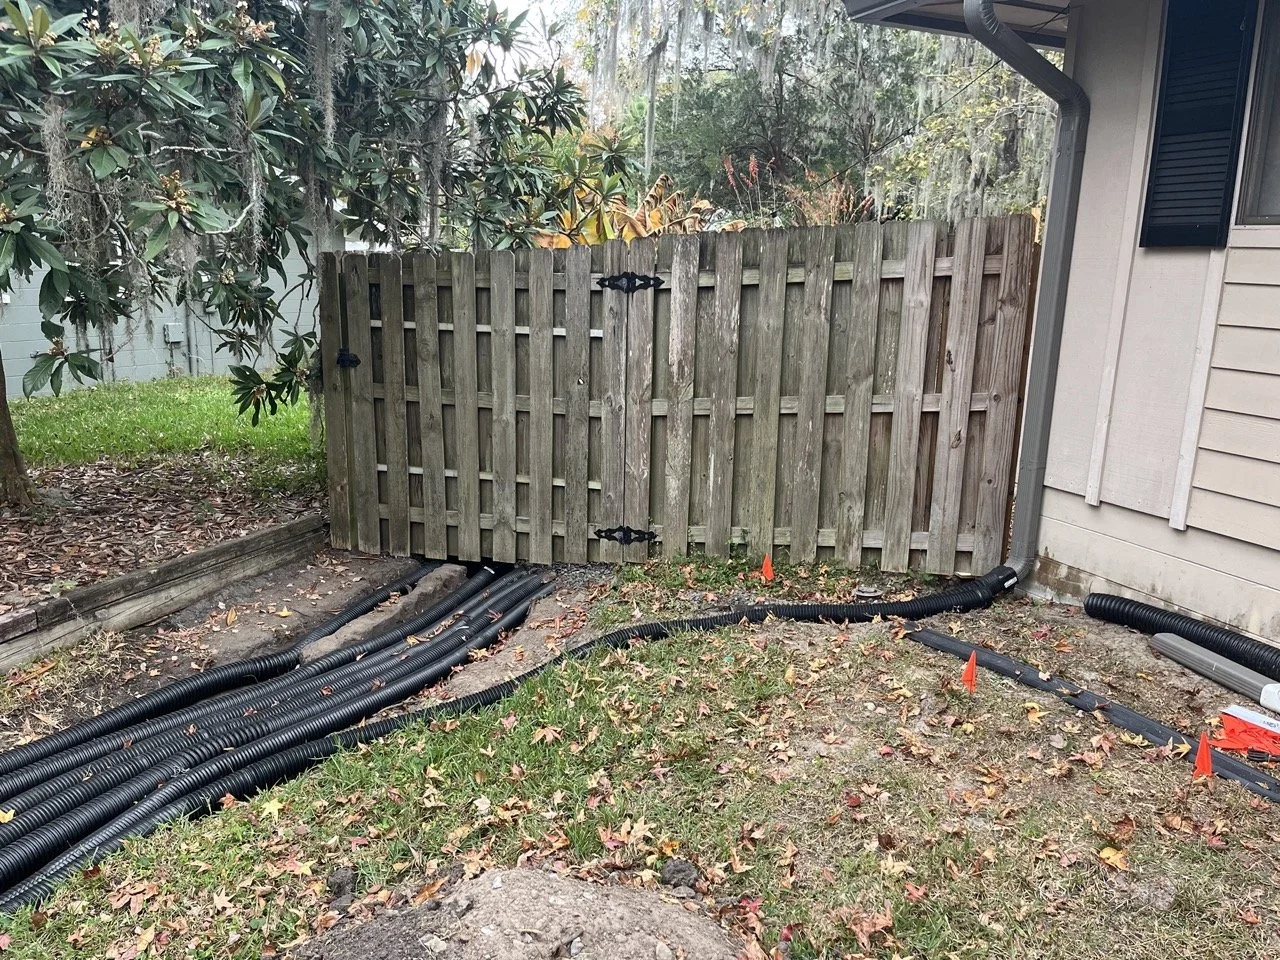
Stage 4 complete.
Stage 5: Building a Foundation
Ultimately I needed to bring in 26 tons of fill dirt to accomplish what I set out to do.
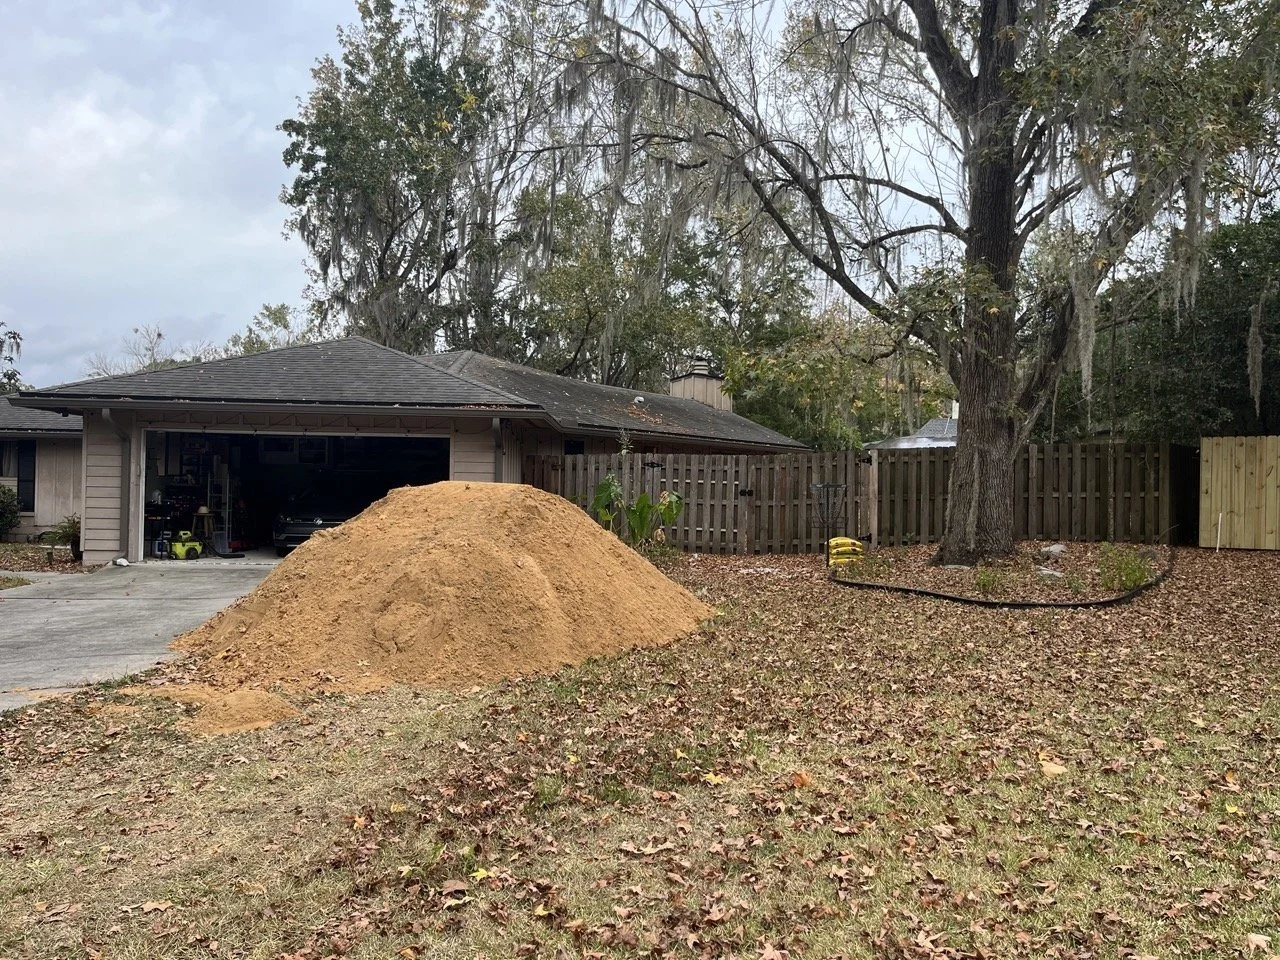
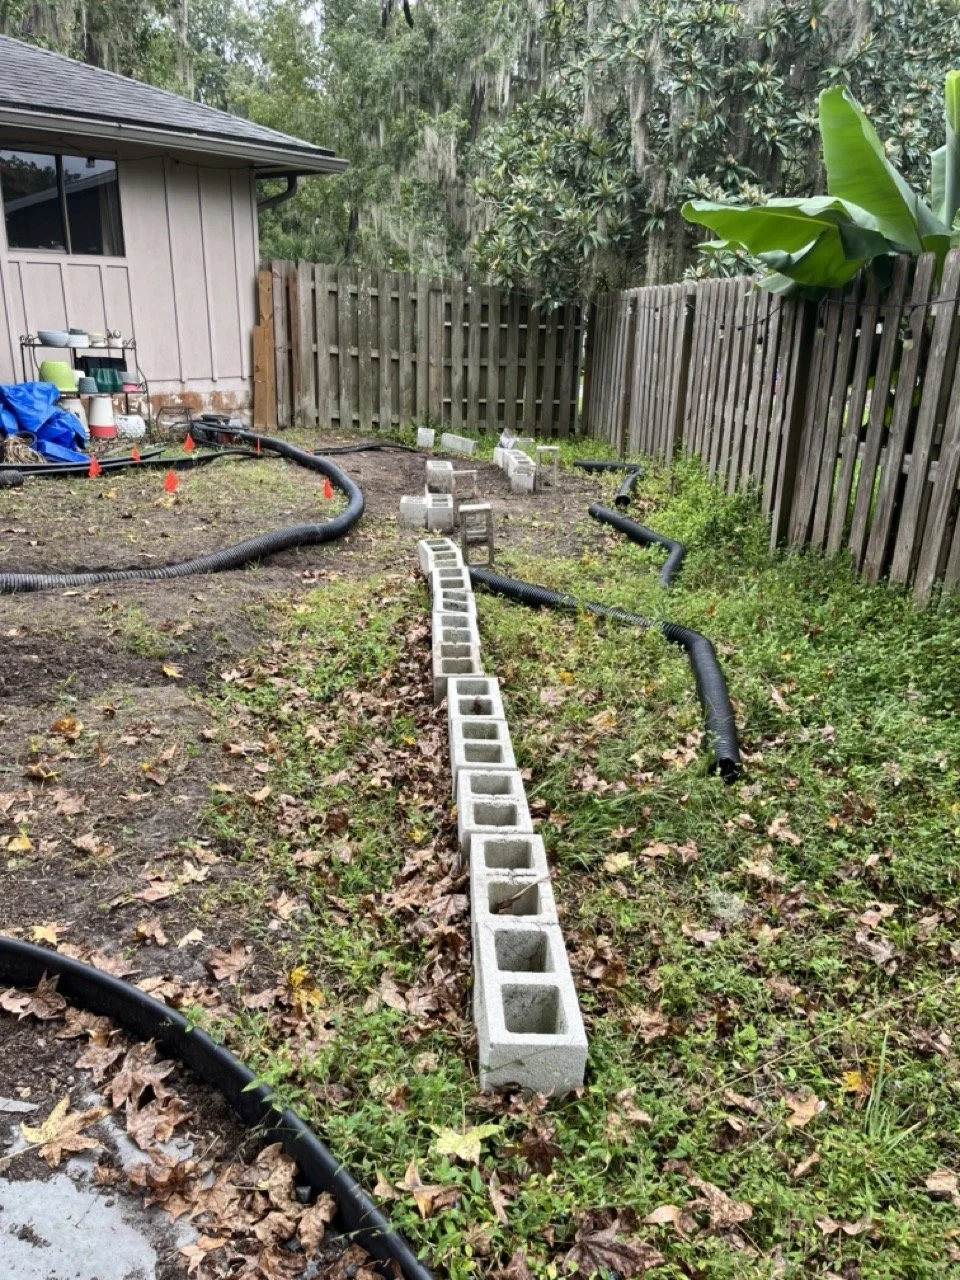
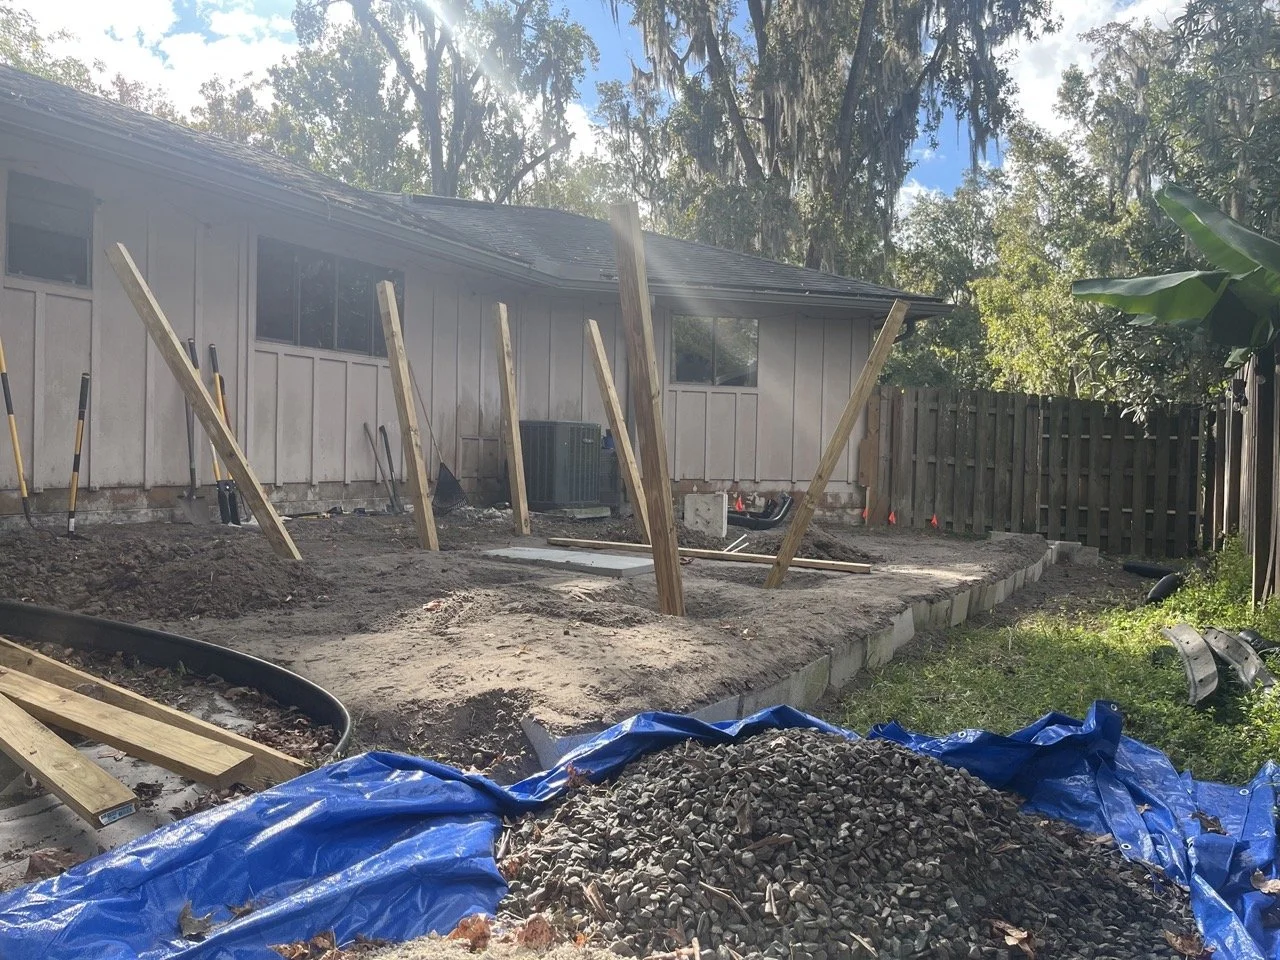
Stage 5 complete.
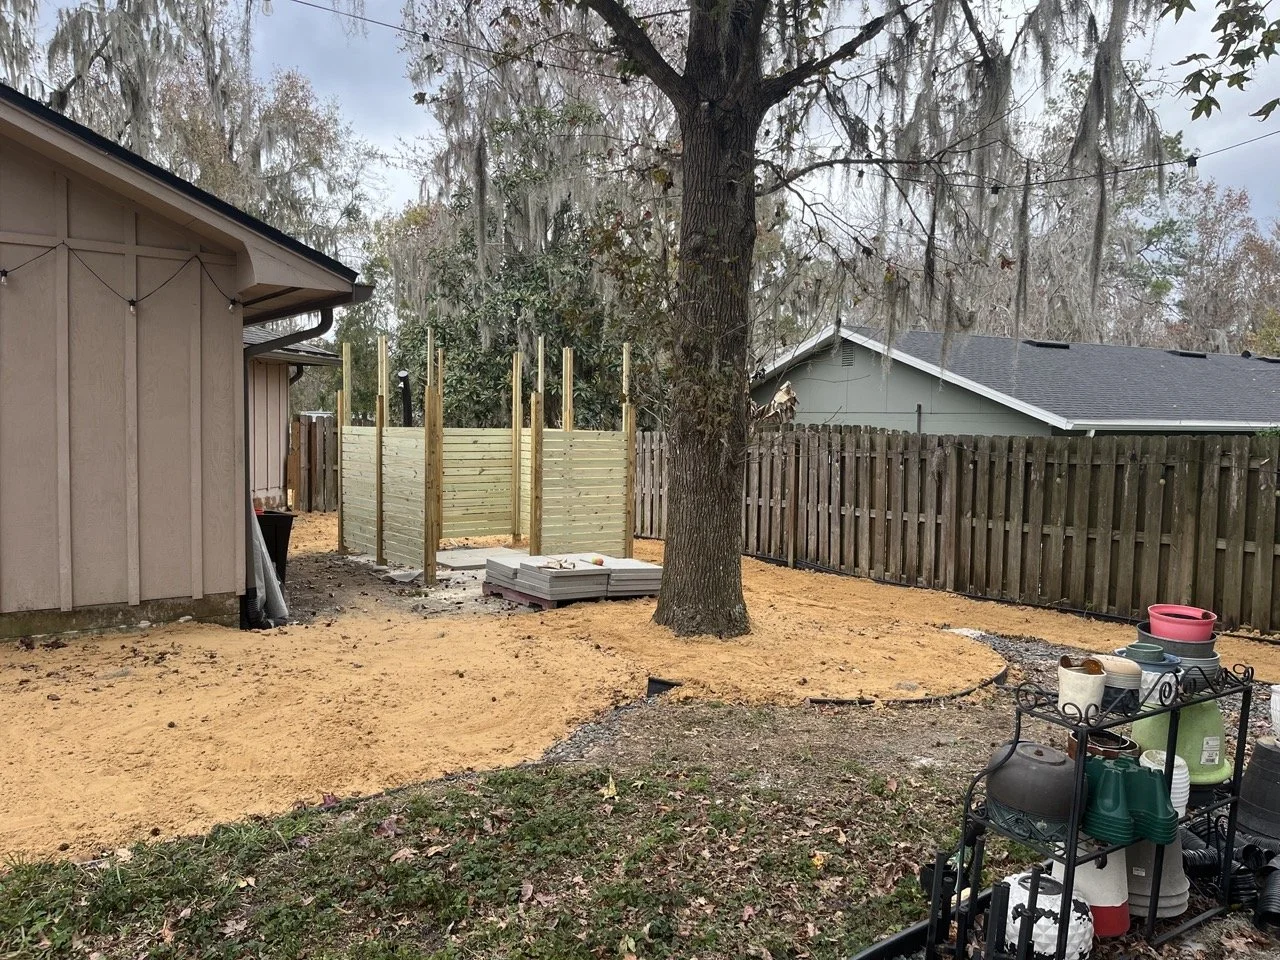
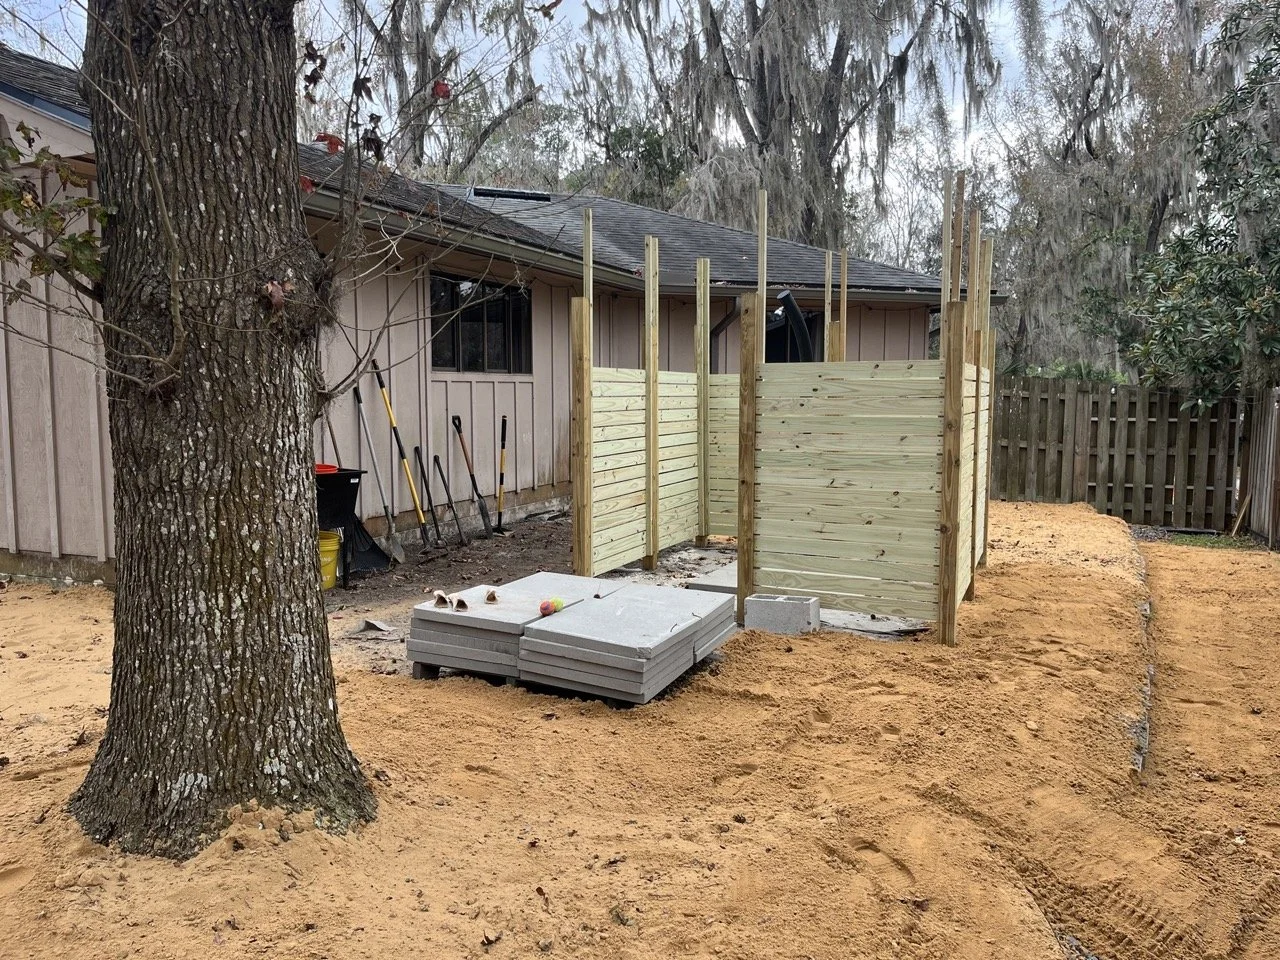
Stage 6: Building an Outdoor Shower Amenity
Stage 6 is still in progress.
The hardest part is done.
I am starting to approach the finish line for this project.
Stage 7+: Hardscaping for Walkways
I am anticipating we will still need ~20 tons of gravel and ~20 tons of rock for hardscaping to create a walkway that wraps around the perimeter of the house.
And, I would not be surprised if I end up needing another 15–20 tons of fill dirt first, given where I am currently at in the sequence.
Lessons From the Yard
Diagnose before acting
Constraints reveal structure
Sequencing beats speed
Systems resist force
Iteration compounds
Time is an input variable